
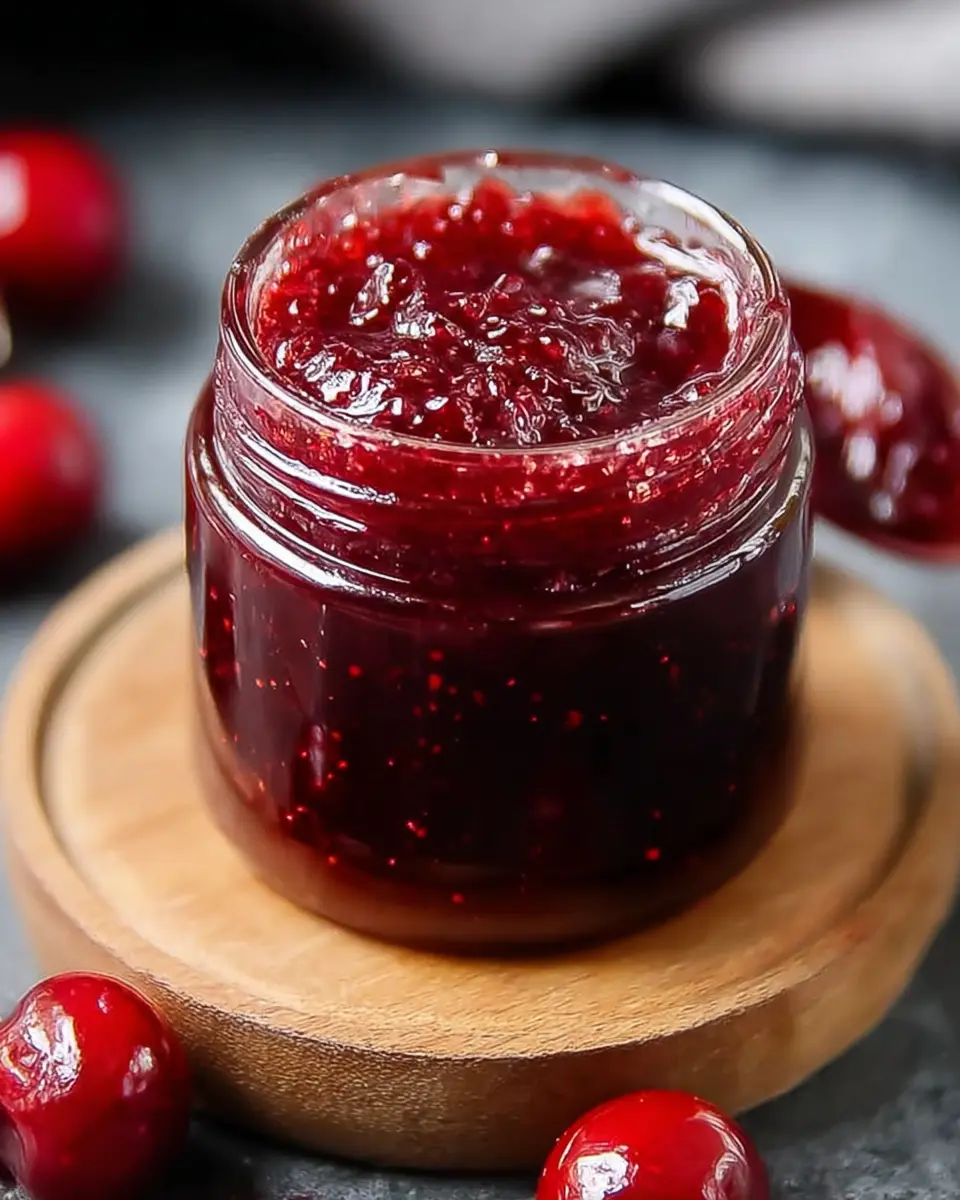
Introduction to Homemade Cherry Jam Recipe
Making your own homemade cherry jam is not just about creating a sweet spread; it's about capturing the essence of summer in each jar. Have you ever tasted a freshly made cherry jam? It’s dramatically different from store-bought versions, brimming with the rich and vibrant flavors of succulent cherries that you simply can’t replicate.
Why make homemade cherry jam?
There are countless reasons to dive into this delightful culinary adventure. First and foremost, you'll have complete control over the ingredients. This means no preservatives or artificial flavors—just pure, wholesome goodness. According to a report from the USDA, homemade jams can have less sugar than commercial brands while still achieving that perfect balance of sweetness and tartness, allowing you to tailor it to your personal taste.
Moreover, it’s a fun activity that creates cherished memories, whether you're making it solo on a lazy weekend or involving friends and family. You can enjoy your jam on toast, pancakes, or as an ingredient in desserts. Plus, nothing beats the satisfaction of sharing your creations with loved ones. So, are you ready to roll up your sleeves and make some magic happen in the kitchen? Let’s get started with this easy homemade cherry jam recipe!

Ingredients for Homemade Cherry Jam
Creating your own homemade cherry jam is a delightful way to preserve the sweet taste of summer, and it starts with the perfect selection of ingredients.
Essential Ingredients for Cherry Jam
To whip up your batch of cherry jam, you'll need:
- 4 cups fresh cherries: Make sure they're ripe for the best flavor!
- 2 tablespoons lemon juice: Freshly squeezed adds a zesty touch.
- 1 ½ cups granulated sugar: Essential for sweetness and preservation.
- 1 package (1.75 oz) fruit pectin: This is your thickening agent.
These ingredients are the foundation of a classic cherry jam recipe. The cherries' natural sweetness and tartness balance beautifully with the sugar and lemon juice.
Optional Ingredients for Variations
Feel free to get creative! Here are some optional ingredients for unique spins on your cherry jam:
- Vanilla extract: A teaspoon can add a lovely warmth.
- Cinnamon: A pinch of spice for a cozy autumn-inspired flavor.
- Jalapeño: For those who enjoy a savory kick, chop one finely and stir it in.
Experimenting with these additional components can bring new depth to your jam, making it a delicious spread for any occasion.
Step-by-step Preparation of Homemade Cherry Jam
Making your own cherry jam is a rewarding endeavor that captures the essence of summer in each jar. It not only fills your pantry with a delightful spread but also makes for a perfect gift. Let’s dive into this homemade cherry jam recipe, ensuring you have each step clearly laid out for successful jam-making.
Prepare the cherries
The first step to any great jam is the quality of the fruit. Start by selecting fresh, ripe cherries—these will give you the best flavor. Wash the cherries thoroughly, then pit them using a cherry pitter for the simplest experience. If you don’t have one, that’s okay! You can cut the cherries in half and scoop out the pits. Aim for about 4 cups; this is the main ingredient of your cherry jam and will form the base of your sweet treat. After prepping, don’t forget to admire those rich, vibrant colors—they’re quite a sight!
Combine ingredients and let them sit
In a large, heavy-bottomed pot, combine your pitted cherries, 1 ½ cups of granulated sugar, and 2 tablespoons of freshly squeezed lemon juice. The sugar will not only sweeten your jam but also help draw out the juices from the cherries, resulting in a beautiful mix. Stir everything together, and allow it to sit for about 30 minutes. This resting time is crucial as it allows the cherries to soften and release their natural juices, creating a flavorful base for your jam.
Heat the mixture properly
Once the cherries have had time to marinate in the sugar, it’s time to heat the mixture. Place your pot over medium heat. As the temperature rises, stir frequently—this helps prevent any sticking at the bottom of the pot. You’ll notice the juices merging beautifully; keep an eye on it until the mixture begins to boil. At this point, it’s all about that sweet aroma wafting through your kitchen!
Add pectin and monitor the boil
When your cherry mixture comes to a rolling boil, it's time to add the magic ingredient: fruit pectin. Following the instructions on the pectin package, stir it in well. This addition is key to achieving that lovely gel consistency that makes homemade cherry jam so delightful. Continue stirring and keep the mixture boiling for another minute or two.
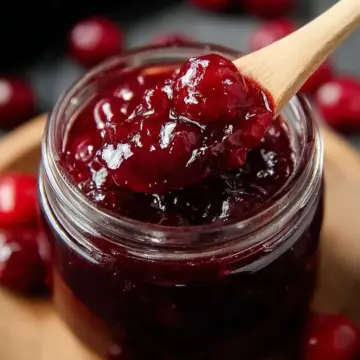
Test for doneness using the cold plate method
To ensure your jam has reached the right consistency, you can use the cold plate method. Grab a plate and chill it in the freezer for a few minutes. Once it's cold, drop a spoonful of your jam onto the plate and push it with your finger. If it wrinkles and holds its shape, you’re good to go! If not, continue cooking for a few minutes before testing again.
Jar and seal the cherry jam
Finally, it’s time to jar your homemade cherry jam. Carefully ladle the hot jam into pre-sterilized jars, filling them to about ¼ inch from the top. Wipe the rims of the jars to ensure a good seal, and then seal them tightly with lids. For best preservation, process the jars in boiling water for 5-10 minutes. Once completed, store your sealed jars in a cool, dark place. Voila! You now have delicious cherry jam to enjoy for months to come.
By following these steps, you’ll not only master this homemade cherry jam recipe but also gain the satisfaction of crafting something truly special. Happy jamming!
Variations on Homemade Cherry Jam
Exploring variations of your homemade cherry jam recipe can enhance your culinary experience and surprise your taste buds! Try these unique takes for something special.
Cherry and Vanilla Jam
Elevate your classic cherry jam by infusing it with warm, aromatic vanilla. Simply add one or two vanilla bean pods to the mixture as it simmers. The natural sweetness of the vanilla enhances the fruity tartness, creating a delightful spread for your morning toast or dessert topping. This combination is perfect for those cozy breakfasts and adds a lovely twist for gifting!
Cherry and Spice Jam
For those who enjoy a little kick, why not experiment with spices? A pinch of cinnamon or a dash of nutmeg can bring an exciting depth to your homemade cherry jam recipe. You could even incorporate finely grated ginger for a zesty note. These spices not only complement the cherries but also make the jam fantastic for glazes or served alongside savory dishes.
With these variations, your homemade cherry jam is sure to impress! For more traditional methods and recipe inspiration, you might also check out sources like The Spruce Eats or Food Network for additional ideas.
Cooking Tips and Notes for Homemade Cherry Jam
Importance of Sterilizing Jars
Before diving into your homemade cherry jam recipe, it's crucial to properly sterilize your jars. This step ensures that harmful bacteria don’t spoil your delicious creation. Simply wash your jars and lids in hot, soapy water, then place them in a preheated oven at around 225°F (110°C) for about 10 minutes. For more details on how to sterilize jars safely, check out this guide.
Adjusting Sugar Levels Based on Cherry Sweetness
Not all cherries are created equal; some are sweeter than others! When preparing your homemade cherry jam, taste a few cherries before adding the sugar. If they’re on the sweeter side, consider reducing the sugar slightly. Just remember, sugar isn’t just for sweetness—it also helps in preservation and achieving that perfect jam texture. Experiment a little, and don’t be afraid to make it your own!
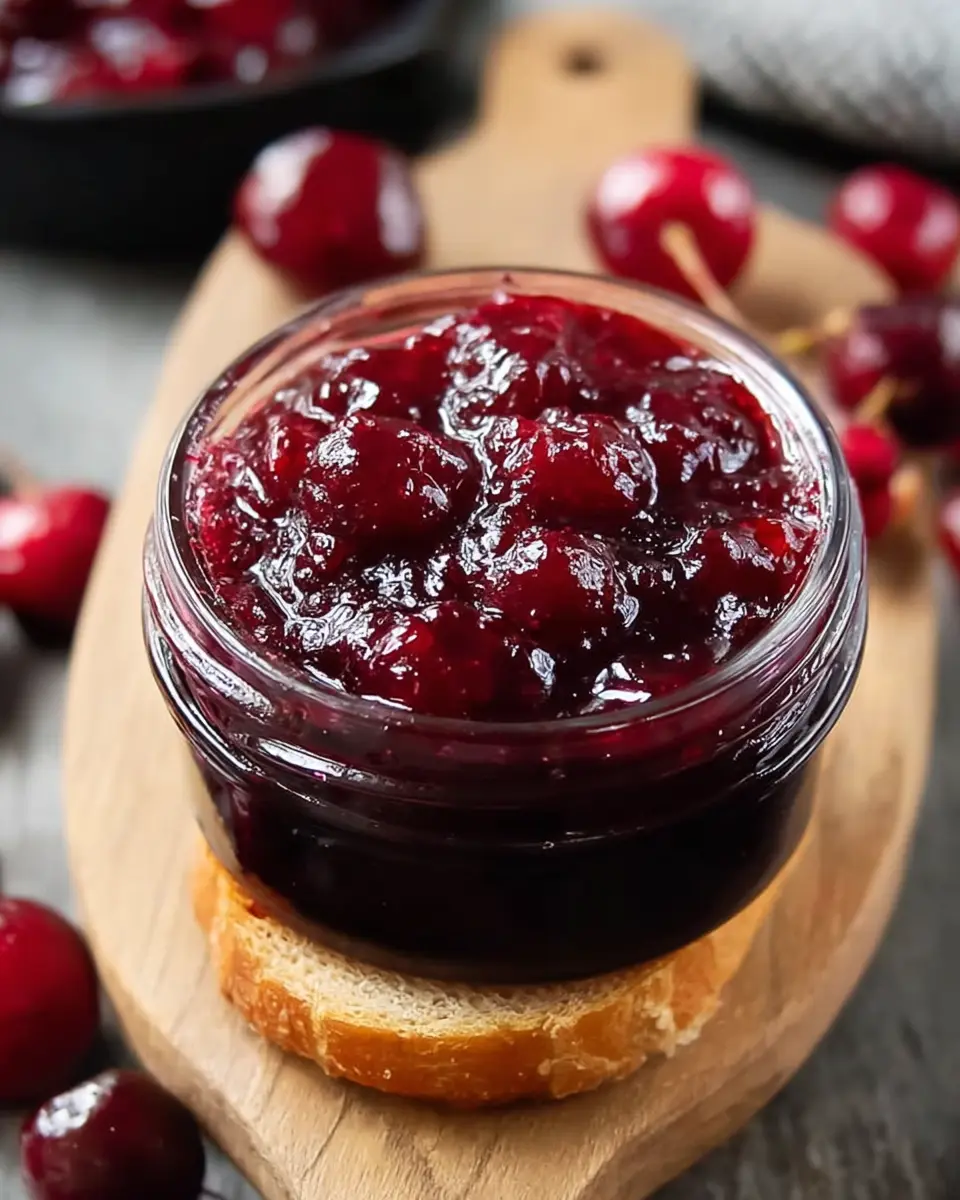
Serving Suggestions for Homemade Cherry Jam
Best Breakfast Pairings
Start your day off right by slathering your homemade cherry jam on warm, toasted bread or bagels. It pairs beautifully with creamy cream cheese, creating a delightful contrast of flavors. If you're aiming for a heartier breakfast, try it as a topping for turkey bacon or a stack of pancakes. You can even swirl it into your morning yogurt for a refreshing twist.
Creative Dessert Options
Beyond breakfast, your homemade cherry jam recipe can transform your desserts. Use it as a filling for pastries or as a delightful drizzle over cheesecakes. Incorporate it into a chocolate tart, where the cherry flavor complements the richness of the chocolate beautifully. You can also layer it in a parfait with whipped cream and granola for a luscious treat. Feel free to experiment—your jam is versatile and delicious!
For more ideas on how to use cherry jam in sweet recipes, check out Epicurious for inspiration!
Time Breakdown for Homemade Cherry Jam
Preparation Time
Start by gathering your ingredients and getting the cherries ready—this should take about 10 minutes. Make sure to pit and clean those fresh cherries for the best results.
Cooking Time
Next, you’ll spend about 35 minutes cooking your mixture down into a luscious jam. This includes allowing the cherries to infuse with sugar and lemon juice, as well as boiling it to the perfect consistency.
Total Time
All in all, you're looking at a total time of 45 minutes to create this delightful homemade cherry jam. You'll be just moments away from enjoying a truly delicious spread for your breakfast toast or dessert!
By setting aside just a short amount of time, you can create an exceptional product with your homemade cherry jam recipe. So, are you ready to enjoy that sweet and tangy delight? As you embark on this jam-making adventure, consider checking out this guide on fruit canning safety to ensure your preserves are safe and scrumptious!
Nutritional Facts for Homemade Cherry Jam
Calories per serving
In each serving of homemade cherry jam, you can expect approximately 100 calories. This delicious treat provides a sweet boost without compromising your healthy eating habits, especially when enjoyed in moderation.
Key nutrients in homemade cherry jam
This delightful spread is not only tasty but also packs a few nutritional benefits, such as:
- Vitamins: Cherries are rich in vitamin C, essential for a healthy immune system.
- Fiber: With fresh cherries, you gain a bit of dietary fiber, aiding digestion.
- Antioxidants: Cherries offer antioxidants that may help reduce inflammation and promote heart health.
Making your own jam can be a nourishing alternative to store-bought options, which may contain artificial ingredients. For a deeper dive into the benefits of cherries, check out resources from the Cherry Marketing Institute. Enjoying homemade cherry jam means savoring the natural sweetness without guilt!
FAQs about Homemade Cherry Jam
How long does homemade cherry jam last?
Once you've perfected your homemade cherry jam, you're likely eager to share it! Sealed jars can last for up to a year when stored in a cool, dark place. After opening, be sure to refrigerate it; it should be good for about 2-3 weeks. Always check for signs of spoilage, such as off-smells or mold, before indulging!
Can I use frozen cherries for jam?
Absolutely! Frozen cherries are a great alternative, especially when fresh cherries aren't in season. Just make sure to thaw and drain them before using, as excess moisture can affect the consistency of your jam. If you're curious about other fruits, check out our article on using frozen fruits in jams for more insights!
What can I do if my jam didn’t set?
If your homemade cherry jam recipe didn’t set, don’t worry—it happens! You can try cooking it down a bit longer, adding extra pectin, or even using the cold plate test again. If all else fails, it makes a delicious topping for pancakes and ice cream, so it's not a complete loss! For further tips, consider checking out preserving guides specific to jam-making.
Conclusion on Homemade Cherry Jam Recipe
Making your own homemade cherry jam is not just about preserving fruit; it’s about capturing memories and flavors in a jar. Enjoy this delightful jam on toast, desserts, or even as a unique gift. With its simple ingredients and process, you’ll find it rewarding and delicious!
Homemade Cherry Jam Recipe
Equipment
- large pot
- cherry pitter
- sterilized jars
Ingredients
Fruit and Citrus
- 4 cups fresh cherries (pitted)
- 2 tablespoons lemon juice (freshly squeezed)
Sweetener and Thickener
- 1.5 cups granulated sugar
- 1 package (1.75 oz) fruit pectin
Instructions
Preparation Steps
- Prepare the cherries: Wash and pit the cherries using a cherry pitter or by cutting them in half to remove the pits.
- Combine ingredients: In a large pot, combine the pitted cherries, granulated sugar, and freshly squeezed lemon juice. Stir well and let the mixture sit for 30 minutes to allow the cherries to release their juices.
- Heat the mixture: Place the pot over medium heat and heat the cherry mixture until it begins to boil, stirring frequently to prevent sticking and ensure even heating.
- Add pectin: Once boiling, stir in the fruit pectin according to the package instructions and continue cooking until the mixture returns to a rolling boil.
- Test for doneness: Use the cold plate test by placing a small amount of jam on a chilled plate and pushing it; if it wrinkles, the jam is ready.
- Jar and seal: Ladle the hot jam into sterilized jars, seal tightly, and process the jars in boiling water for 5-10 minutes to ensure proper preservation.
Leave a Reply