
Introduction to Banana Pudding Jars
Why are Banana Pudding Jars a Must-Try Dessert?
If you’re on the hunt for a dessert that marries nostalgia with simplicity, the banana pudding jars recipe is your answer. This delightful treat showcases layers of silky pudding, fresh banana slices, and crunchy vanilla wafers, all served in adorable jars. It’s not only easy to prepare but also a feast for the eyes, making it perfect for any gathering or a sweet ending to a casual dinner.
What sets banana pudding jars apart is their versatility. You can whip them up in just about 25 minutes plus chilling time, which means less stress for you and more time to enjoy with family and friends. Each spoonful offers a comforting blend of textures and flavors, making them a crowd favorite.
Plus, you can make these jars ahead of time, allowing the flavors to meld beautifully in the fridge. Imagine pulling out these charming desserts at a gathering, your guests intrigued by those delightful individual servings. Want to learn more about the history of this cherished Southern dish? Check out the origins of banana pudding on Southern Living.
With just a few ingredients and some layering magic, you’ll have a show-stopping dessert that impresses. So, get ready to dive into this banana pudding jars recipe and discover the joy it brings!
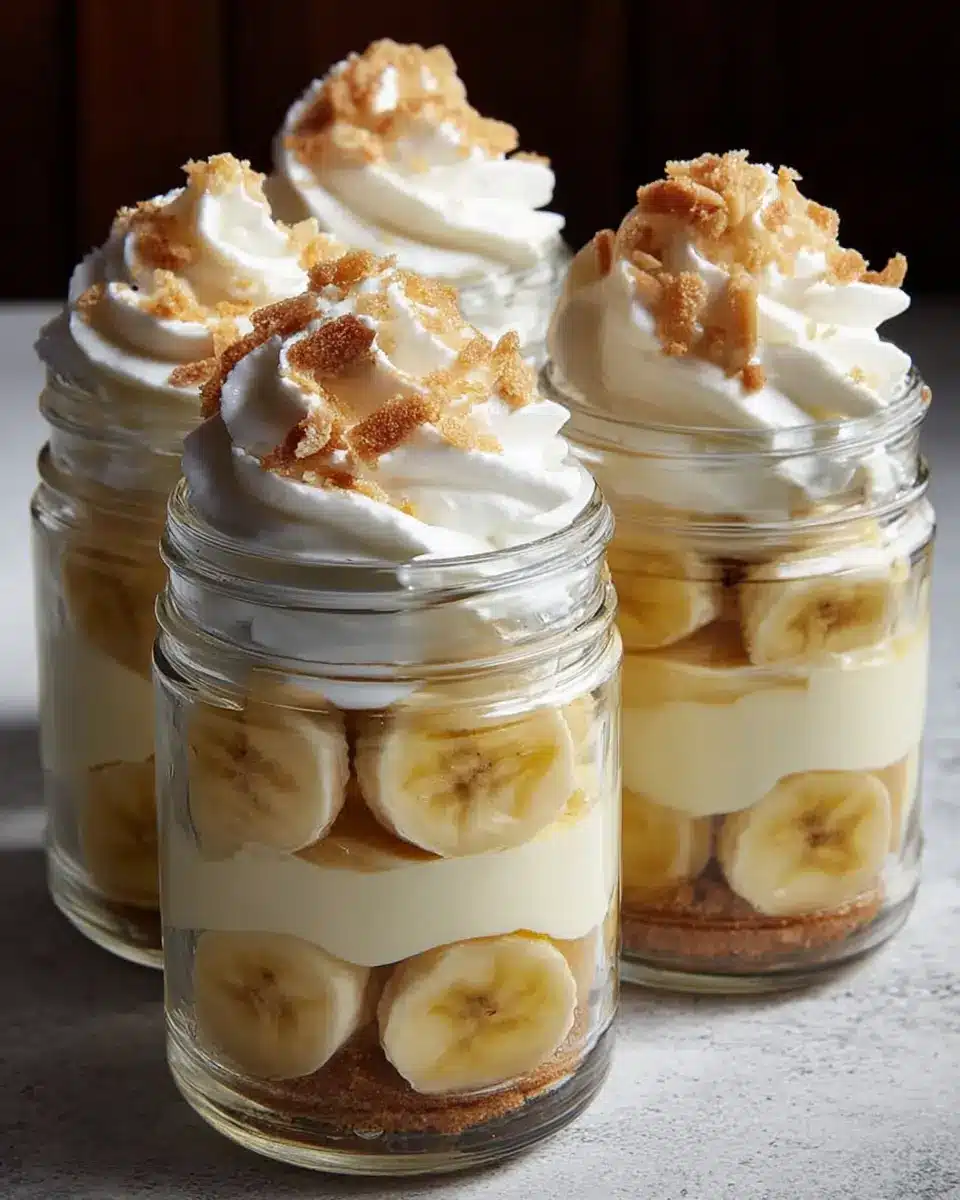
Ingredients for Banana Pudding Jars
When you're ready to whip up these delightful banana pudding jars, having the right ingredients on hand is crucial. Here’s what you’ll need for each component to make this classic Southern dessert shine.
Pudding Ingredients
To create that creamy, dreamy pudding layer, gather the following:
- 2 cups whole milk
- ½ cup granulated sugar
- ⅓ cup cornstarch
- ¼ teaspoon salt
- 2 teaspoons vanilla extract
- 3 large egg yolks
These ingredients blend together to form a rich and velvety pudding that’s the heart of your banana pudding jars recipe.
Layers Ingredients
Next up are the tantalizing layers that add texture and flavor:
- 2 ripe bananas, sliced
- 1 cup vanilla wafers, crushed
The combination of fresh bananas and crunchy wafers adds that perfect balance of sweet and satisfying.
Whipped Cream Topping Ingredients
No dessert is complete without a fluffy topping! For the ultimate whipped cream finish, you’ll need:
- 1 cup heavy whipping cream
- 2 tablespoons powdered sugar
This light and airy topping brings everything together beautifully—truly the icing on the cake, so to speak!
Feel free to explore different variations and tips across the web, like checking this guide on pudding techniques from Serious Eats to perfect your texture and flavor!
Preparing Banana Pudding Jars
Creating delightful banana pudding jars is a simple and rewarding process that results in a deliciously layered dessert. Whether you’re preparing for a gathering or just looking for a sweet treat at home, these jars will surely brighten your day. Let's break down the steps!
Gather Your Ingredients
The first step in making your banana pudding jars recipe is to gather all your ingredients. Here’s what you’ll need:
-
Pudding Ingredients:
-
2 cups whole milk
-
½ cup granulated sugar
-
⅓ cup cornstarch
-
¼ teaspoon salt
-
2 teaspoons vanilla extract
-
3 large egg yolks
-
Layering Ingredients:
-
2 ripe bananas, sliced
-
1 cup vanilla wafers, crushed
-
Whipped Cream Topping:
-
1 cup heavy whipping cream
-
2 tablespoons powdered sugar
Make sure to have everything on hand before you start, as it will make the process smoother and more enjoyable!
Prepare the Pudding
Now it’s time to whip up the creamy pudding that will form the heart of your dessert. In a medium saucepan, combine the whole milk, granulated sugar, cornstarch, and salt, stirring them together until smooth. Place the mixture over medium heat, stirring constantly until it thickens into a luscious pudding—this usually takes about 5-10 minutes. For detailed cooking tips, check out this guide on making perfect pudding.
Incorporate Egg Yolks and Vanilla
To enrich the flavor, it’s crucial to add the egg yolks and vanilla extract. First, temper the egg yolks by whisking a scoop of hot pudding into them gradually. This prevents scrambling. Then return the mixture to the saucepan and cook for an additional few minutes for optimal thickness. Remove from heat and stir in the aromatic vanilla extract that will elevate your pudding's flavor profile.
Layer the Jars
Once the pudding is ready, it’s time to layer your jars. Start by adding a generous layer of crushed vanilla wafers to the bottom of your jars. Follow this with a layer of fresh banana slices, then spoon a thick dollop of pudding over them. Repeat the layering process until your jars are full, making sure to finish with a layer of pudding. This not only looks beautiful but ensures a delightful mix of textures and flavors!
Chill the Jars
After layering, pop the jars in the refrigerator for at least 30 minutes. Chilling allows the flavors to meld and the pudding to set perfectly. Plus, enjoying a cold dessert on a warm day is unbeatable!
Make the Whipped Cream
While the jars are chilling, prepare your homemade whipped cream. In a clean mixing bowl, beat the heavy whipping cream and powdered sugar together until soft peaks form. This step adds an irresistible creaminess to your dessert.
Serve and Enjoy!
When you're ready to indulge, take the jars out of the fridge. Top each jar with a generous dollop of whipped cream and sprinkle some additional crushed vanilla wafers for a tasty crunch. Your banana pudding jars are now ready to impress—you'll surely receive compliments from friends and family alike!
And remember, this recipe is as fun to prepare as it is to eat, so gather your favorite people, enjoy the process, and relish every delightful bite!
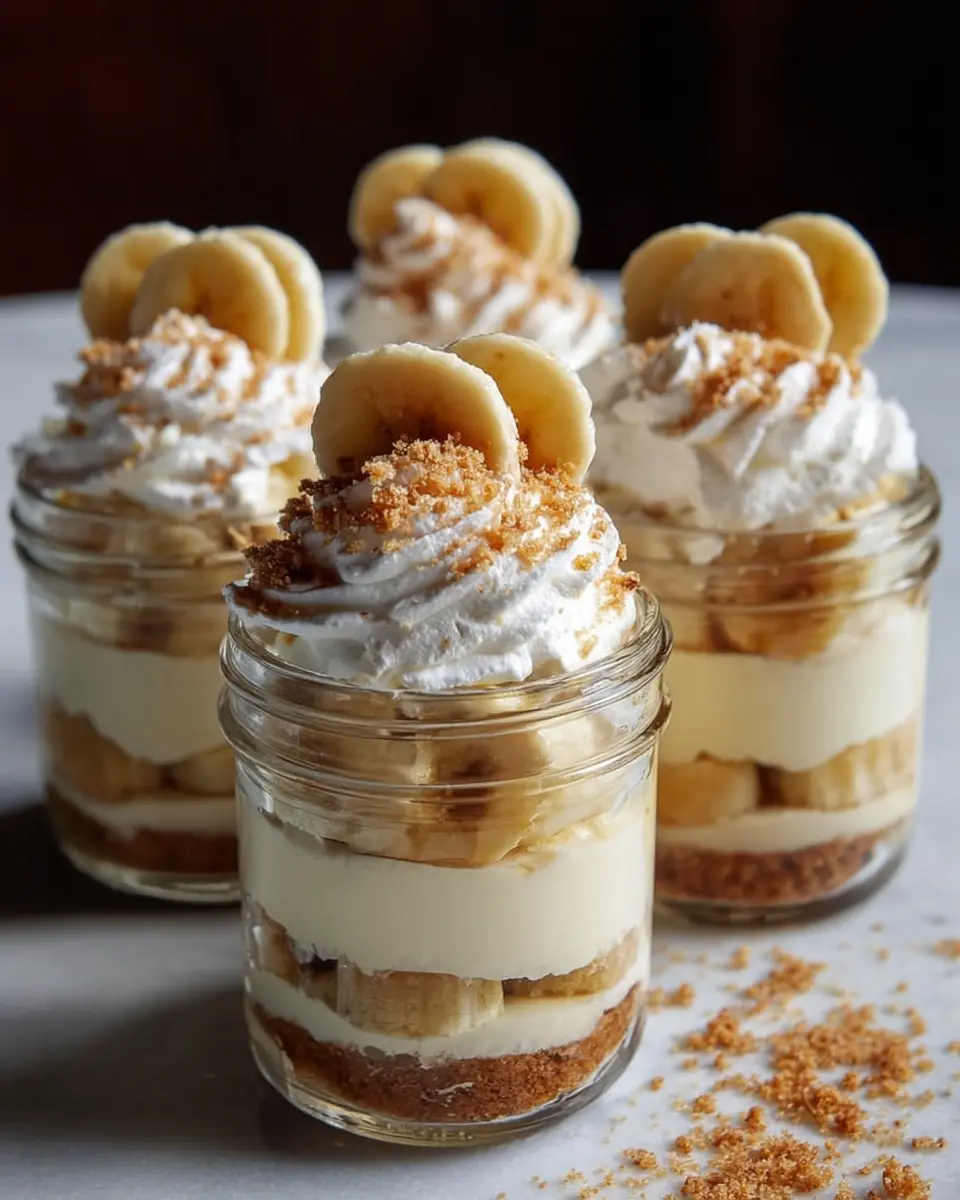
Variations on Banana Pudding Jars
Banana Pudding with Peanut Butter
Elevate your banana pudding jars recipe with a delicious twist by adding peanut butter! Simply incorporate a few tablespoons of creamy or crunchy peanut butter into your pudding mixture for a nutty flavor that pairs beautifully with the bananas. Layer it as you normally would, and consider sprinkling chopped peanuts on top for extra texture. This variation is especially popular among peanut butter lovers and makes for a unique dessert that will definitely stand out at your next gathering.
Vegan Banana Pudding Jars
For those who prefer plant-based options, vegan banana pudding jars are a fantastic alternative. Swap out the dairy for almond or coconut milk and use cornstarch as a thickening agent. You can easily sweeten your pudding with maple syrup or agave nectar instead of sugar. Layer with fresh bananas and vegan cookies or dairy-free whipped cream, and you have a delightful dessert that everyone can enjoy, regardless of dietary restrictions. Check out this guide for more vegan substitutes!
Cooking Tips and Notes for Banana Pudding Jars
Avoiding Lumps in Your Pudding
Lumpy pudding can spoil the creamy texture of your banana pudding jars recipe. To ensure a smooth result, whisk together your dry ingredients thoroughly before adding the milk. As you cook, stir constantly over medium heat to avoid any sticking or burning. If you notice lumps developing, a quick fix is to use an immersion blender to smooth out the mixture. This not only saves your pudding but also ensures a velvety consistency.
Choosing the Right Bananas
Selecting the right bananas is essential for enhancing the flavor in your banana pudding jars recipe. Look for bananas that are ripe yet firm—these will provide a perfect balance of sweetness and texture. Overripe bananas can become mushy and may not hold their shape as beautifully when layered. If you're unsure, consider letting them ripen for just a few days, or picking bananas that have a few brown spots but are still somewhat firm. This way, you’ll achieve that delightful banana flavor without sacrificing presentation.
By paying attention to these details, your homemade banana pudding will not only taste great but also look amazing in those jars! For more handy tips, check out this guide on perfecting pudding or dive into the many benefits of using fresh fruit in desserts on Healthline.
Serving Suggestions for Banana Pudding Jars
Creative Garnishes
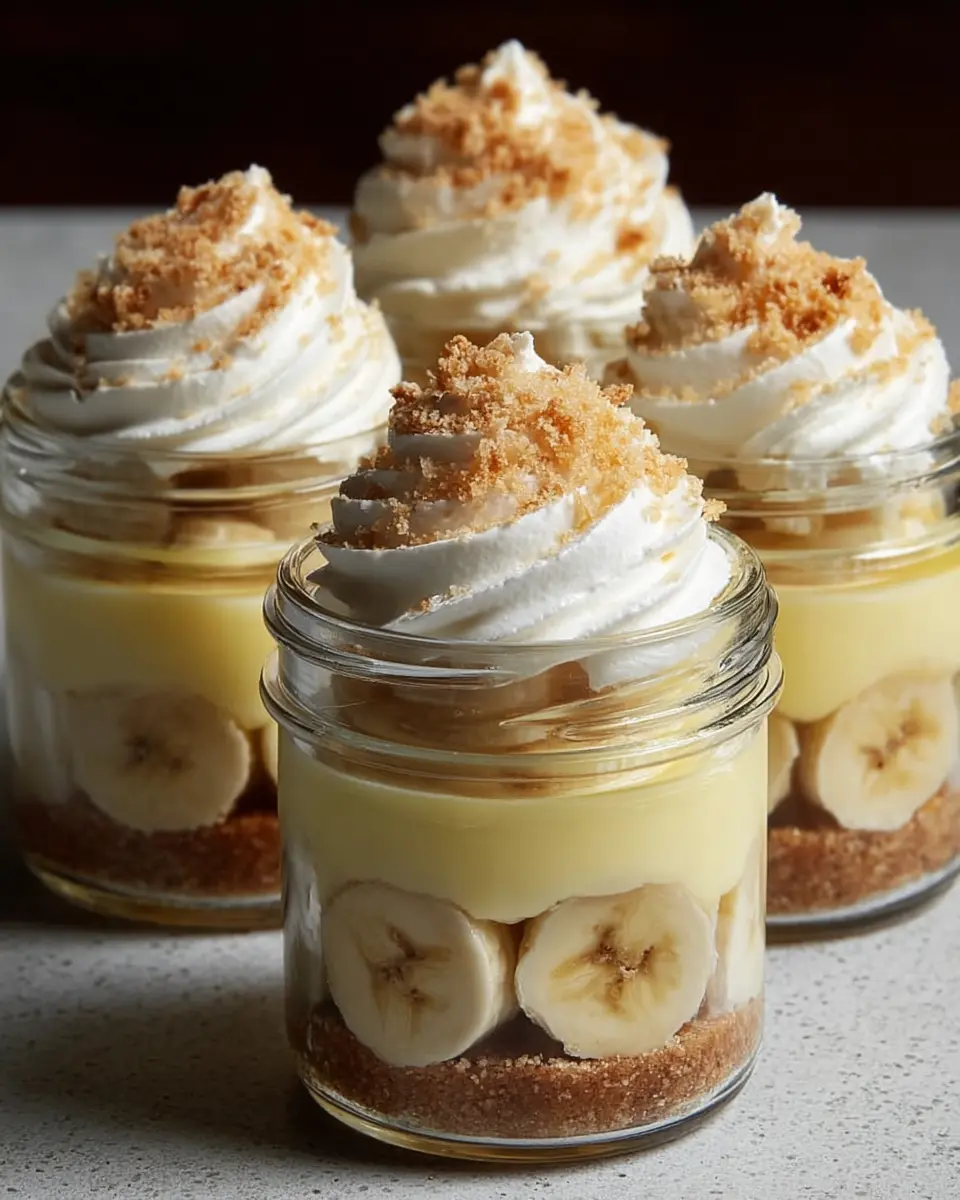
Elevate your banana pudding jars recipe with delightful garnishes! Consider topping each jar with fresh banana slices, a drizzle of caramel sauce, or a sprinkle of crushed vanilla wafers for added crunch. You might even introduce a modern twist by adding a pinch of cinnamon, or for an extravagant touch, a few chocolate shavings.
Presentation Ideas
The way you present your banana pudding jars can make a huge impact! Use clear mason jars to showcase the beautiful layers of pudding, bananas, and wafers. You can arrange the jars on a rustic wooden board or a colorful dessert platter for a charming display at your next gathering. For a fun touch, personalize each jar with a small tag featuring the guest's name. This makes it not only a tasty dessert but also a memorable experience!
For more serving ideas, check out our favorite dessert presentation tips.
Time Breakdown for Banana Pudding Jars
Preparation Time
Kick off your banana pudding jars recipe with just 15 minutes of prep time. Gather your ingredients, mix your pudding, and get those tasty layers started!
Cooking Time
You’ll only need 10 minutes of cooking time to transform your ingredients into a luscious, creamy pudding. Keep an eye on the heat, and stir consistently for that perfect texture.
Chilling Time
Patience pays off! Allow the jars to chill for at least 30 minutes. This step is essential for the flavors to meld together beautifully.
Total Time
In total, you're looking at just 25 minutes plus chilling time. With a little waiting, you’ll have delicious individual servings of banana pudding ready to impress!
For anyone curious, you can find some fantastic tips about chilling desserts here.
Nutritional Facts for Banana Pudding Jars
Calories
Each serving of the banana pudding jars recipe contains approximately 320 calories, making it a delightful treat without too much guilt. It’s a perfect way to satisfy your sweet tooth after a meal.
Carbohydrates
These jars pack about 45 grams of carbohydrates per serving. Most of these carbs come from the vanilla wafers and bananas, providing you with a quick energy boost that’ll keep you energized throughout your day.
Sugar Content
With around 25 grams of sugar, this banana pudding jars recipe includes naturally occurring sugars from the ripe bananas and granulated sugar in the pudding. It’s always a good idea to enjoy desserts like this in moderation to keep your sugar intake in check!
For comprehensive health insights, you can explore resources like Nutrition.gov or MyPlate to learn more about incorporating sweet treats into a balanced diet.
FAQs about Banana Pudding Jars
Can I Make This Ahead of Time?
Absolutely! These banana pudding jars can be prepared a few hours in advance. Just layer them as instructed and store them in the fridge until it’s time to serve. This allows the flavors to meld beautifully, creating an even more delicious treat for your guests.
How Do I Store Leftover Banana Pudding Jars?
Storage is simple! If you have any leftovers, cover the jars tightly with plastic wrap or transfer the pudding to an airtight container. Keep them refrigerated and enjoy them within 2-3 days for the best quality. Note that the bananas may brown over time, so it’s ideal to eat them as soon as possible.
Can I Substitute Ingredients?
Definitely! Feel free to customize your banana pudding jars recipe. For instance, you can use almond milk instead of whole milk for a dairy-free option. If you're looking to lighten things up, swap out heavy whipping cream for whipped coconut cream. Just keep in mind that these substitutions may alter the flavor and texture slightly.
For additional tips on ingredient substitutions, check out this resource.
Conclusion on Banana Pudding Jars
In summary, this banana pudding jars recipe is a delightful way to enjoy a classic Southern dessert with a modern twist. The layers of creamy pudding, fresh bananas, and crunchy wafers create a sweet symphony that’s perfect for any occasion. Try it, and treat yourself or impress guests!
Banana Pudding Jars Recipe
Equipment
- Saucepan
- Mixing Bowl
- whisk
- Jars for serving
Ingredients
Pudding
- 2 cups whole milk
- ½ cup granulated sugar
- ⅓ cup cornstarch
- ¼ teaspoon salt
- 2 teaspoons vanilla extract
- 3 large egg yolks
Layers
- 2 ripe bananas, sliced
- 1 cup vanilla wafers, crushed
Whipped Cream Topping
- 1 cup heavy whipping cream
- 2 tablespoons powdered sugar
Instructions
Preparation Steps
- Gather Ingredients: Collect all the ingredients listed to ensure a smooth preparation process.
- Prepare Pudding: In a saucepan, whisk together whole milk, granulated sugar, cornstarch, and salt until smooth. Place over medium heat and stir constantly until the mixture thickens into a creamy pudding.
- Add Egg Yolks and Vanilla: Temper the egg yolks by gradually adding some of the hot pudding mixture while whisking continuously. Then return the mixture to the saucepan and cook for a few more minutes until fully thickened. Remove from heat and stir in vanilla extract.
- Layer the Jars: Begin by placing a layer of crushed vanilla wafers at the bottom of each jar, followed by a layer of sliced bananas. Spoon a layer of pudding over the bananas. Repeat the layers as desired, finishing with a layer of pudding on top.
- Chill: Refrigerate the jars for at least 30 minutes to set and chill the pudding, allowing flavors to meld.
- Prepare Whipped Cream: In a mixing bowl, beat the heavy whipping cream and powdered sugar until soft peaks form.
- Serve: Top each chilled pudding jar with a dollop of whipped cream and sprinkle with additional crushed vanilla wafers for garnish. Serve immediately.
Leave a Reply