
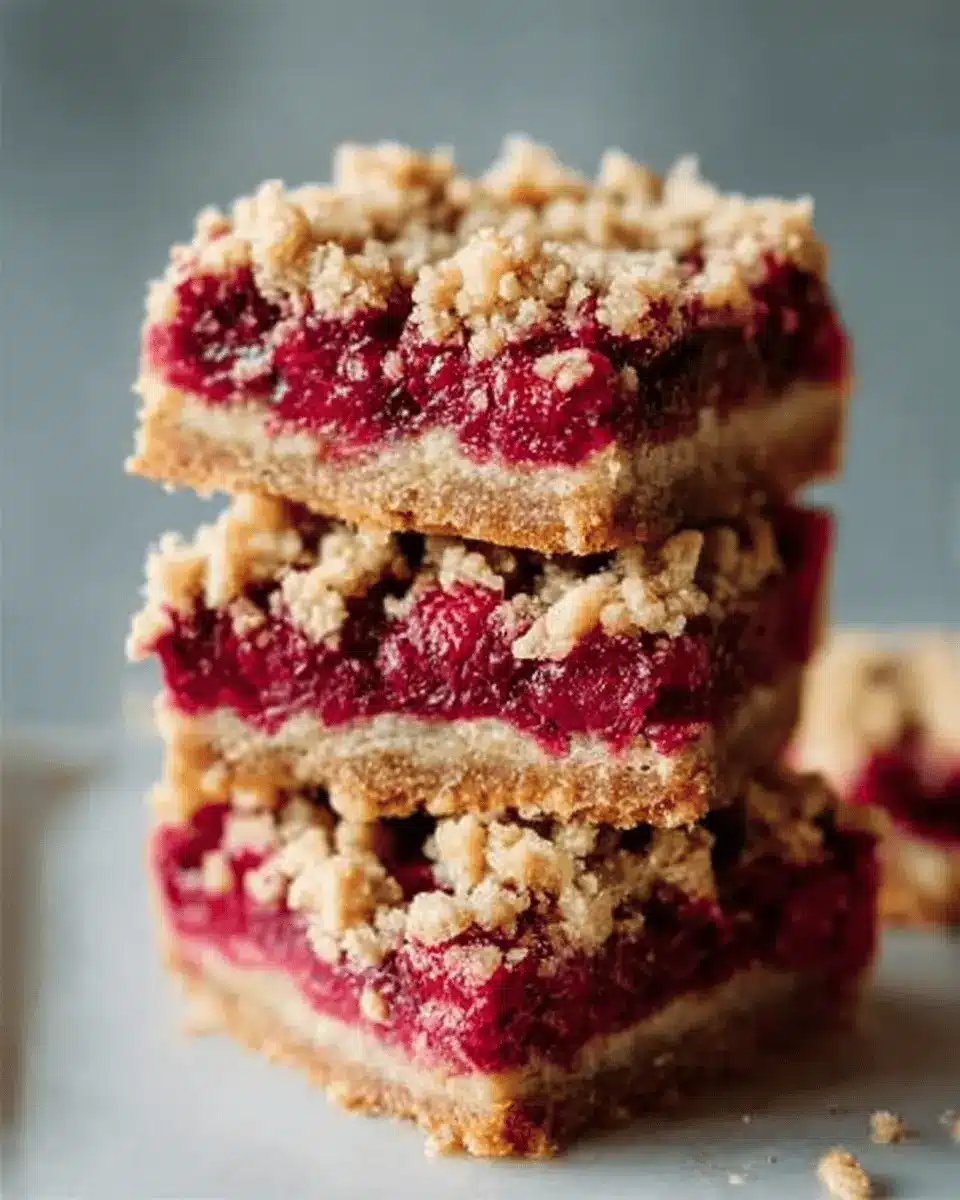
Introduction to Raspberry Crumble Bars
Why choose homemade Raspberry Crumble Bars?
There’s something undeniably special about homemade sweets, especially raspberry crumble bars. When you make them from scratch, you control the ingredients – ensuring freshness and quality. Plus, there’s a certain joy in baking that fills your home with delightful aromas and offers a satisfying way to express creativity. Whether you’re sharing them with friends, serving them at a gathering, or enjoying them solo with a cup of tea, these bars are a simple yet impressive treat.
A little backstory on my love for crumble bars
My obsession with crumble bars began as a child during summertime visits to my grandmother's house. She had a magical knack for turning her garden's fruits into mouthwatering desserts. I still remember the day she introduced me to raspberry crumble bars, with their flaky crust and the tartness of fresh raspberries. Each bite was a perfect balance of crunchy and gooey. That memory has stuck with me, and now, as an adult, I love to recreate those nostalgic flavors in my kitchen. Simple recipes like this one not only gather family and friends but also carry a warm sentiment – a little taste of love baked into every bar.
Join me in this journey to recreate the joy of raspberry crumble bars, and let’s bake something delicious together!
Ingredients for Raspberry Crumble Bars
The perfect raspberry filling
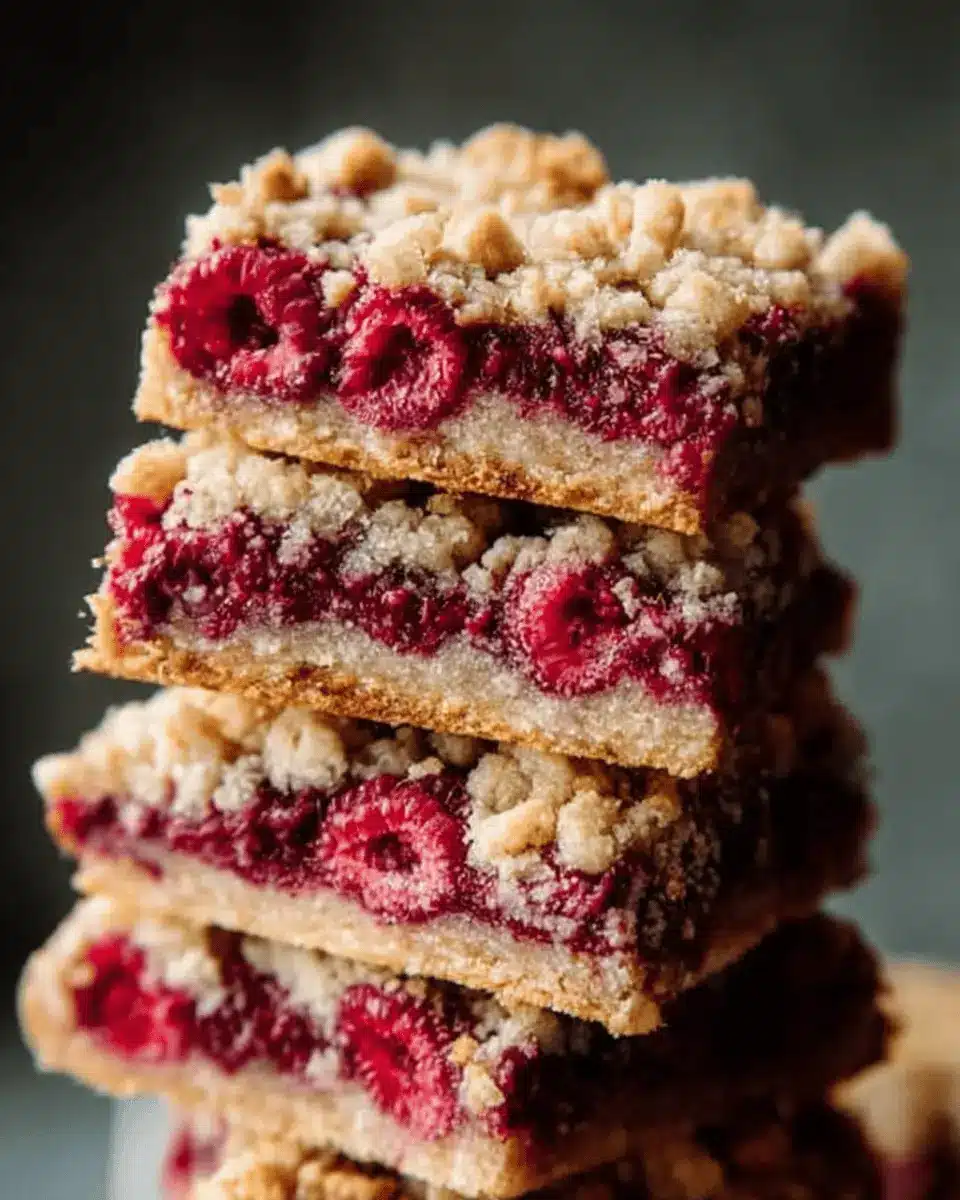
When it comes to the raspberry crumble bars, the filling is where the magic happens! You’ll need two 12-ounce bags of frozen raspberries—these work beautifully as they provide a consistent flavor year-round. Sweeten them with ½ cup of granulated sugar, adjusting based on how tart your berries are. Don’t forget to add 2 tablespoons of flour and 1 tablespoon of cornstarch to help thicken that delicious mixture. The juice of one lemon will round it out with a zesty freshness.
Essential ingredients for the crumble layer
The crumble layer is key to achieving that perfect texture. Gather 3 cups of rolled oats for the chewiness, combined with 3 cups of flour for structure and 2 cups of brown sugar (loosely packed) to provide the right amount of sweetness. You’ll also need 1 teaspoon of baking powder, 1 ½ cups of melted butter (preferably salted), and ½ teaspoon of salt to balance out the flavors.
Are there any substitutions you can make?
Of course! If you’re out of frozen raspberries, feel free to swap in other berries like blueberries or blackberries. For the crumble, you can replace part of the oats with almond flour or coconut flour for a gluten-free version. Use coconut oil instead of butter if you want a dairy-free option. Always remember that cooking is about customizing it to your taste, so make it your own!
Step-by-step preparation of Raspberry Crumble Bars
Making delightful raspberry crumble bars is an enjoyable way to spend some time in the kitchen, and the results are worth every minute spent preparing them. Let’s dive into the steps for crafting these delicious treats, ensuring you have everything you need along the way.
Prepare your raspberries
Start by preheating your oven to 350 degrees Fahrenheit. Grab those frozen raspberries and place them in a large colander. To help thaw and soften them, run warm water over the raspberries for about a minute. This makes it easier to mix them into your filling later. Allow them to drain for about an hour; you'll want them thoroughly drained so that your bars don't end up too soggy. After they've drained, combine your raspberries with granulated sugar, flour, cornstarch, and the juice of one lemon in a bowl. This mixture adds a delightful sweetness and tang, enhancing the natural flavor of the berries.
Create the delightfully soft crumble base
Next, it’s time to whip up the crumble base. In a separate bowl, mix together rolled oats, flour, brown sugar, baking powder, melted butter, and salt. This creates a soft, crumbly mixture that will form the foundation of your bars. Press about two-thirds of this mixture into the bottom of a 9×13 pan lined with parchment paper. This helps with easy removal later. Bake this layer for 10 minutes to set it slightly—just enough to create a solid base for your luscious raspberry filling.
Bake the base to perfection
After baking for 10 minutes, remove the base from the oven. This initial baking step is crucial, as it prevents the base from becoming overly soggy when the raspberry layer is added. Allow it to cool slightly while you continue with the recipe.
Layer the raspberry filling
Now it’s time to layer on your raspberry filling! Spread the raspberry mixture evenly over the baked crumb base. Make sure to cover it generously—each bite deserves that burst of fruitiness!
Add the crumble topping and bake again
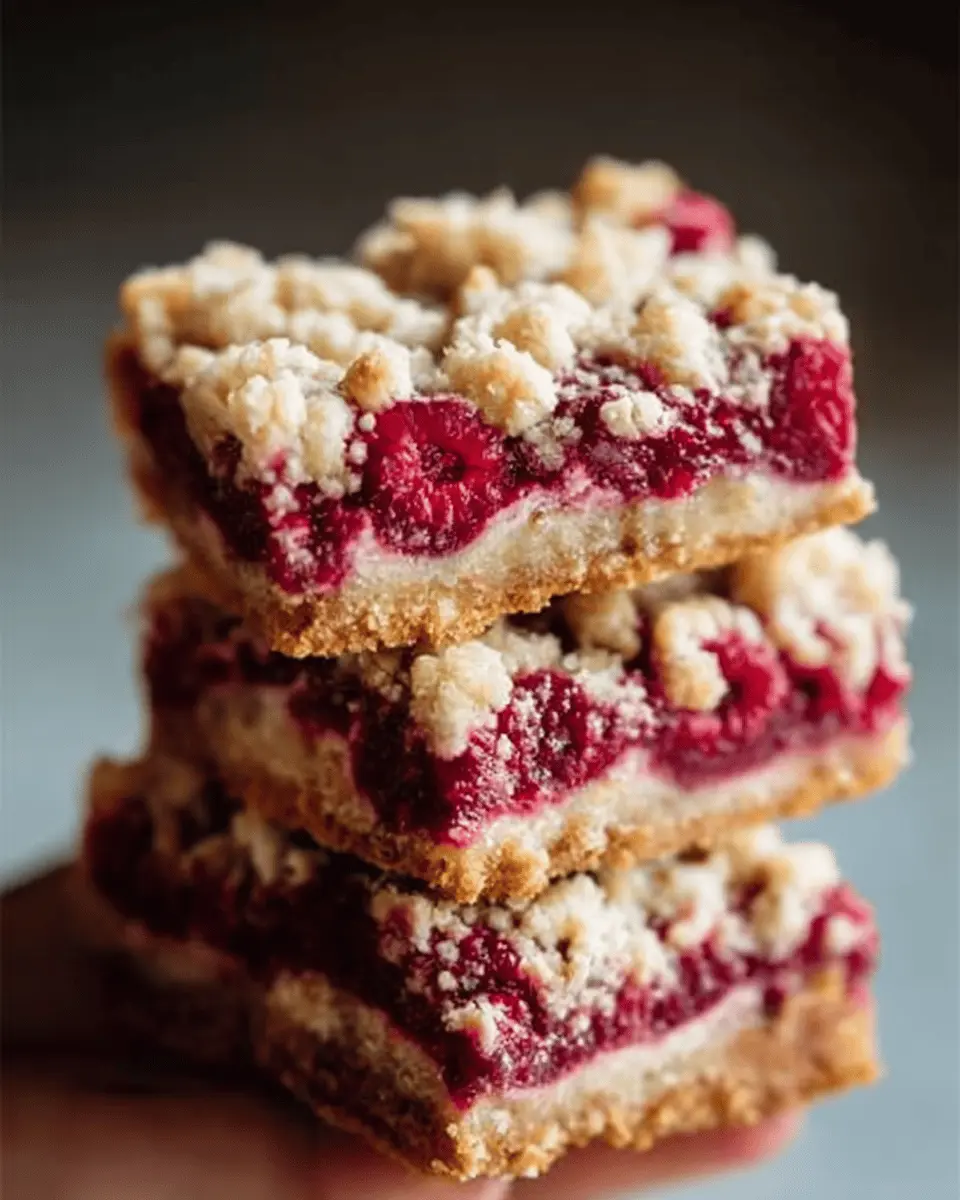
Finally, sprinkle the remaining crumble mixture over the raspberry filling, evenly distributing it to ensure a nice, crispy topping. Return the pan to the oven and bake for another 25-30 minutes until the top is golden brown and the filling is bubbling. When they come out of the oven, resist the temptation to dig in immediately—let the bars cool and set for a few hours. This makes for easier cutting later on. If you can't wait, feel free to enjoy them warm, akin to a comforting fruit crisp.
With these steps, you’re well on your way to creating your own raspberry crumble bars. Enjoy this tasty treat as a snack, dessert, or even breakfast option paired with a nice cup of tea! For further inspiration, check out some berry-inspired recipes online for even more fruity goodness!
Variations on Raspberry Crumble Bars
Berry Medley Crumble Bars
Why stick to just raspberries when you can create a delightful medley? Incorporating mixed berries like blueberries, blackberries, or even strawberries can elevate your crumble bars to another level. Try using equal parts of frozen mixed berries in place of raspberries for a colorful twist. The combination brings an exciting burst of flavors that will leave your taste buds dancing. For a deeper flavor, consider adding a touch of cinnamon to the crumble layer or drizzling some honey on top after baking.
Gluten-Free Raspberry Crumble Bars
Craving those delicious raspberry crumble bars but need a gluten-free option? No problem! Substitute the regular flour with a 1:1 gluten-free baking blend. Oats are often gluten-free but double-check the packaging to ensure there’s no cross-contamination. You can enhance the texture by adding ground almonds or coconut flour to the crumble mixture. These substitutions will not only maintain the delightfully soft texture but also add a nutty flavor to your bars.
For more tips on baking crafted for dietary needs, check out PBS Food’s guide on gluten-free baking.
Cooking Tips and Notes for Raspberry Crumble Bars
Creating the perfect raspberry crumble bars can be a delightful experience! Here are a few tips to enhance your baking adventure:
-
Use Frozen Raspberries: Fresh raspberries can be too delicate and juicy. Frozen berries hold their shape better and maintain a delightful flavor. Let them thaw and drain well for best results.
-
Adjust Sweetness: The tartness of raspberries varies, so feel free to adjust the sugar in the filling. Always taste your mix and adapt according to your preference!
-
Cooling is Key: Patience is essential. Allow the bars to cool completely before slicing. This will help achieve cleaner edges and a more enjoyable texture.
If you ever need additional guidance, consider checking out The Kitchn for more baking tips!
Serving Suggestions for Raspberry Crumble Bars
Pairing with Ice Cream or Yogurt
Elevate your raspberry crumble bars by serving them warm alongside a scoop of creamy vanilla ice cream or a dollop of tangy Greek yogurt. The contrast between the warm, fruity filling and the cold, smooth texture makes for a delightful experience. If you're feeling adventurous, try drizzling some honey or chocolate sauce over the top for extra indulgence. Trust us; it’s a match made in dessert heaven!
Enjoying Them as a Breakfast Bar
Why not enjoy these raspberry crumble bars as a delicious breakfast option? Packed with oats, they can give you a filling start to your day. Pair them with a cup of your favorite coffee or herbal tea to kick off your morning right. Slice them into smaller squares, and pack them for an on-the-go breakfast that's as nutritious as it is tasty. You’ll make a quick and easy breakfast that feels special every day!
For more fun berry breakfast ideas, check out articles from EatingWell or Bon Appétit.
Time Breakdown for Raspberry Crumble Bars
Preparation Time
You'll need about 30 minutes to gather your ingredients, prep the raspberries, and mix your crumble. This step sets the stage for the deliciousness that’s about to come!
Baking Time
Let your oven work its magic for around 40–45 minutes. This includes the initial bake of the crust and the final bake with the raspberry filling.
Total Time
In total, you’re looking at a cozy 1 hour and 30 minutes from start to finish, but trust me, the reward is well worth it! You’ll have scrumptious raspberry crumble bars ready to enjoy.
For more delicious recipes and tips on baking, check out this guide on baking compartments; you might find some helpful pointers! Happy baking!
Nutritional Facts for Raspberry Crumble Bars
Calories per Bar
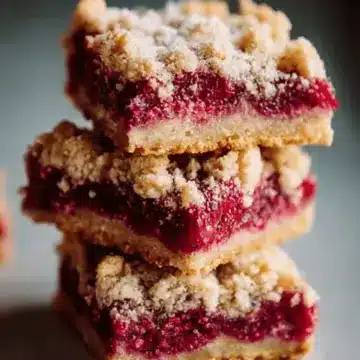
Each raspberry crumble bar contains approximately 180-220 calories, depending on the size you cut. Perfect as a snack or dessert, they offer a delightful balance of sweetness and satisfaction without being overly indulgent.
Sugar Content
These bars have around 10-15 grams of sugar each. The natural fruit sweetness from the raspberries, combined with a little added sugar, makes these bars a tasty yet not overly sugary treat. For a healthier twist, consider using less sugar or a natural sweetener.
Fiber Content
Each bar packs about 3-4 grams of dietary fiber, thanks to the oats and raspberries. Incorporating fiber into your diet can aid in digestion and help keep you feeling full longer—perfect for those busy days on the go.
Looking for more information about the nutritional benefits of oats? Check out this resource. It’s an excellent read that dives into how incorporating grains into your diet can boost your health!
FAQs about Raspberry Crumble Bars
Can I use fresh raspberries instead of frozen?
Absolutely! While the recipe calls for frozen raspberries, using fresh raspberries can yield equally delicious results. Just keep in mind that you may need to adjust the sugar according to the berries' natural sweetness. Fresh raspberries can also release more juice, so consider using a bit more flour or cornstarch in the filling to achieve the right consistency.
How should I store leftover crumble bars?
To keep your raspberry crumble bars fresh, store them in an airtight container at room temperature for up to three days. If you live in a particularly humid area, it may be best to refrigerate them. Just remember to let them warm up for a few minutes at room temperature before serving for optimal taste and texture.
Can I freeze these bars for later?
Yes, you can definitely freeze raspberry crumble bars! After they cool completely, cut them into bars and wrap each piece tightly in plastic wrap, then place them in a freezer-safe container. They can be frozen for up to three months. When you're ready to enjoy them, simply thaw overnight in the fridge or at room temperature.
For more tips on berry preservation, check out this guide from Allrecipes.
Conclusion on Raspberry Crumble Bars
In summary, making raspberry crumble bars is a delightful experience that combines fruity goodness with a crunchy topping. Whether you savor them warm or let them cool for a sturdy bite, these bars are sure to satisfy your sweet tooth. Share them with friends or enjoy them alone—the choice is yours! For more scrumptious dessert ideas, check out this collection.
Raspberry Crumble Bars
Equipment
- 9x13 inch baking pan
- colander
- Mixing Bowls
Ingredients
Raspberry Filling
- 24 oz frozen raspberries two 12-ounce bags
- 0.5 cup granulated sugar more depending on tartness of your berries
- 2 tablespoons flour
- 1 tablespoon cornstarch
- 1 juice lemon juice of one
Crumble Layer
- 3 cups rolled oats
- 3 cups flour
- 2 cups brown sugar loosely packed
- 1 teaspoon baking powder
- 1.5 cups butter melted, preferably salted
- 0.5 teaspoon salt
Instructions
Preparation
- Preheat the oven to 350 degrees. Place raspberries in a large colander. Run warm water over them for a minute, and then let the liquid drain out for about an hour until softened and thoroughly drained. Mix raspberries with sugar, flour, cornstarch, and lemon juice.
- Mix the oats, flour, sugar, baking powder, butter, and salt together into a crumble-like mixture. Press two thirds of the crumble into the bottom of a 9×13 pan lined with parchment paper. Bake for 10 minutes.
- Arrange the raspberry layer on top of the baked bottom layer. Sprinkle with remaining crumble. Bake for another 25-30 minutes.
- Remove from oven. They will need a little time to set up into 'bar' formation, so chill them for a few hours to get them really solid. Or cut into it right away and eat it like a soft fruit crisp!


Leave a Reply