
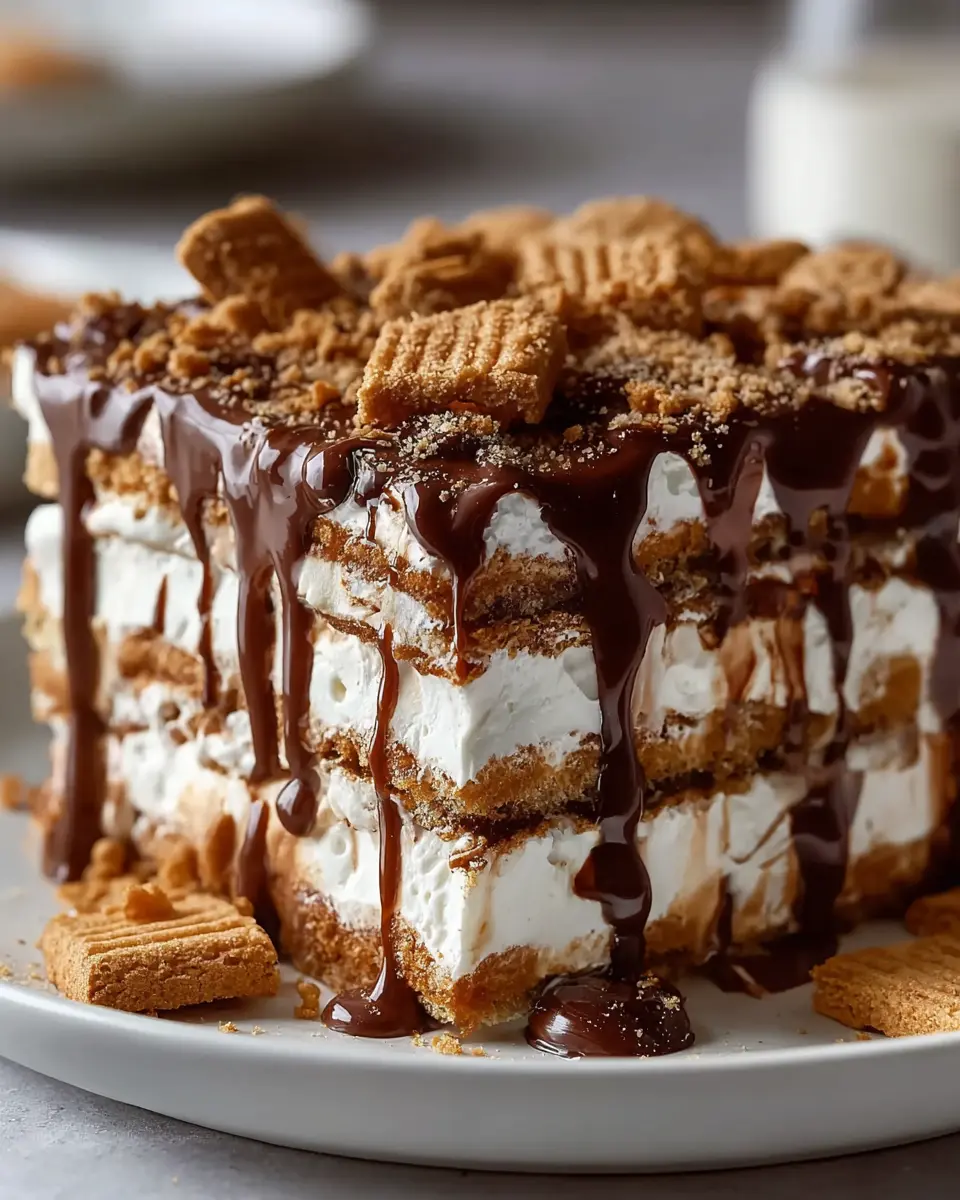
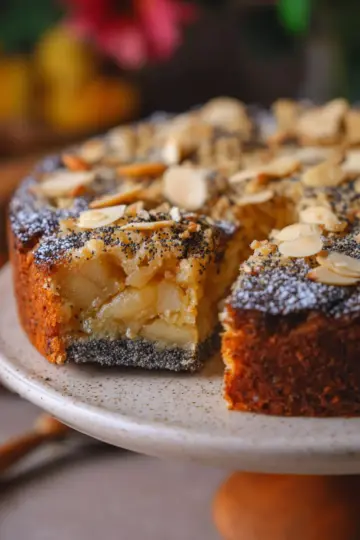
Introduction to No-Bake Cookie Icebox Cake
As a busy young professional, finding time to whip up a scrumptious dessert can be a challenge. That’s where the beauty of no-bake desserts comes in—like this delightful no-bake cookie icebox cake! These treats can save you time in the kitchen without sacrificing flavor or presentation. You can assemble this layered dessert with minimal stress, leaving you with more time to tackle your to-do list (or simply enjoy a well-deserved break).
No-bake desserts are not just convenient; they can also be incredibly versatile. Whether you’re celebrating a special occasion or just treating yourself after a long week, a creamy, layered cake made with your favorite spiced cookies and rich mascarpone filling is always a hit. Plus, since it requires chilling overnight, all you have to do is prepare it the day before, allowing the flavors to meld together beautifully.
Feeling inspired? Check out this guide to no-bake desserts for more easy recipes and tips. With just a few ingredients and a little time, you’ll have a crowd-pleasing dessert that impresses without the oven hassle. So why not indulge in a slice of this dreamy no-bake cookie icebox cake tomorrow? Your taste buds will thank you!
Ingredients for No-Bake Cookie Icebox Cake
Creating a delicious no-bake cookie icebox cake starts with quality ingredients. This recipe is not only simple but also versatile — perfect for a warm day or any time you crave something sweet without the fuss of baking. Gather the following essentials:
- 2 cups heavy cream: This will be the base of your luscious filling, delivering that rich, creamy texture you love.
- ½ cup smooth spiced cookie spread: Choose a good-quality spread for optimal flavor. It adds a delightful warmth to the cake.
- ⅓ cup mascarpone cheese: A must-have for creaminess, bringing a touch of sophistication to your dessert.
- 2 tablespoons powdered sugar: Just enough sweetness to balance out the savory notes.
- 1 teaspoon vanilla extract: Always opt for pure vanilla for a deeper flavor profile.
- Pinch of salt: This will enhance all the flavors.
- 60 to 70 crisp spiced cookies: These will form the structure of your icebox cake. A crisp texture helps in layering.
- ⅓ cup warm spiced cookie spread: This is for drizzling on top, giving a nice finish.
- Crushed spiced cookies (optional): Add for an extra touch of crunch and presentation.
For more tips on ingredient substitutions, check resources like Serious Eats and Bon Appétit. Let’s get ready to indulge in this layered creamy delight!
Preparing No-Bake Cookie Icebox Cake
Making a no-bake cookie icebox cake might sound intimidating, but trust me, it’s as easy as pie—well, no-bake pie! You'll be diving into a world of creamy layers and spicy-sweet goodness in just a few simple steps. Let’s get started!
Gather your ingredients
Before you jump into the fun part, you’ll want to gather all your ingredients. Having everything at hand makes the process smoother and more enjoyable. Here’s what you need for your no-bake cookie icebox cake:
- 2 cups heavy cream
- ½ cup smooth spiced cookie spread
- ⅓ cup mascarpone cheese
- 2 tablespoons powdered sugar
- 1 teaspoon vanilla extract
- A pinch of salt
- 60 to 70 crisp spiced cookies
- ⅓ cup warmed smooth spiced cookie spread
- Crushed spiced cookies (optional for garnish)
These ingredients come together to create layers of deliciousness that will have everyone coming back for seconds.
Prepare the cream mixture
Now, let’s whip up that luxurious cream mixture! In a large bowl, start by beating the heavy cream until soft to medium peaks form. This is where the magic begins—don't rush it! A good whisk or electric mixer can help you achieve that right consistency. Once you’ve got the cream perfectly whipped, gently fold in the smooth spiced cookie spread, mascarpone cheese, powdered sugar, vanilla extract, and a pinch of salt. Keep beating until it's all smooth and dreamy.
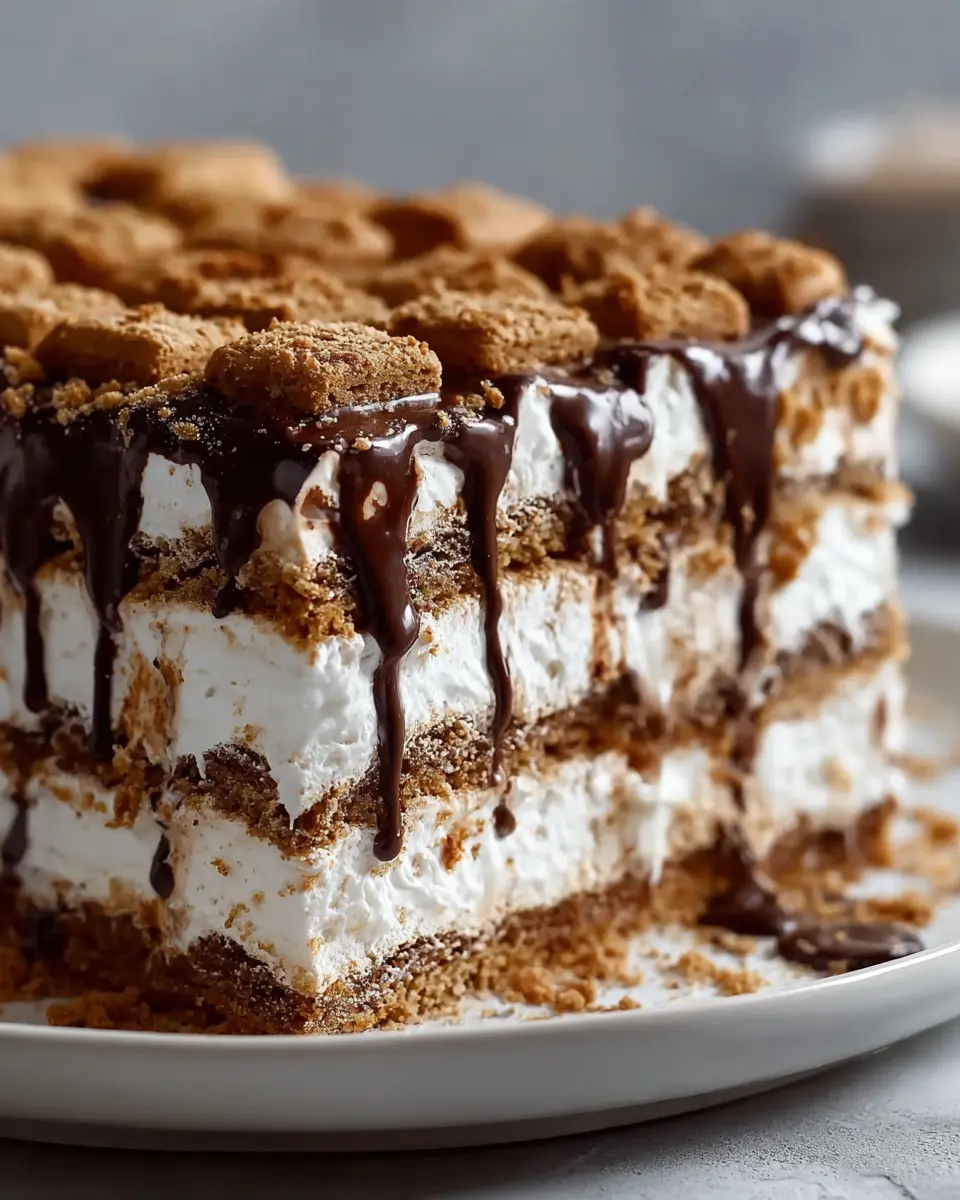
Layer the cookies and cream
With your creamy mixture ready, it’s time to get layering! Take your lined loaf pan and start by laying down a single layer of spiced cookies. You can dip them in milk briefly if you want them softer—totally up to your preference! Pour a generous layer of the cream mixture on top of the cookies, spreading it evenly.
Repeat layering
Now, let’s repeat those layers! Add another layer of cookies, followed by more cream mixture, and continue until you run out of ingredients, finishing with a layer of cookies on top. This is where you can let your creativity shine! Feel free to sprinkle some crushed spiced cookies on top for that extra touch.
Chill and set
The final step is crucial for flavor and texture—chill your no-bake cookie icebox cake! Cover the pan with plastic wrap and place it in the refrigerator for at least 12 hours. This allows all those flavors to meld beautifully and sets the cake to perfection.
And just like that, you’ve crafted a delightful dessert that’s sure to impress! So, why not take the plunge? Your future self will thank you when you slice into this delightful treat.
For more dessert ideas, consider checking out sources like Food Network or Bon Appétit for inspiration. Happy baking—or perhaps no-baking!
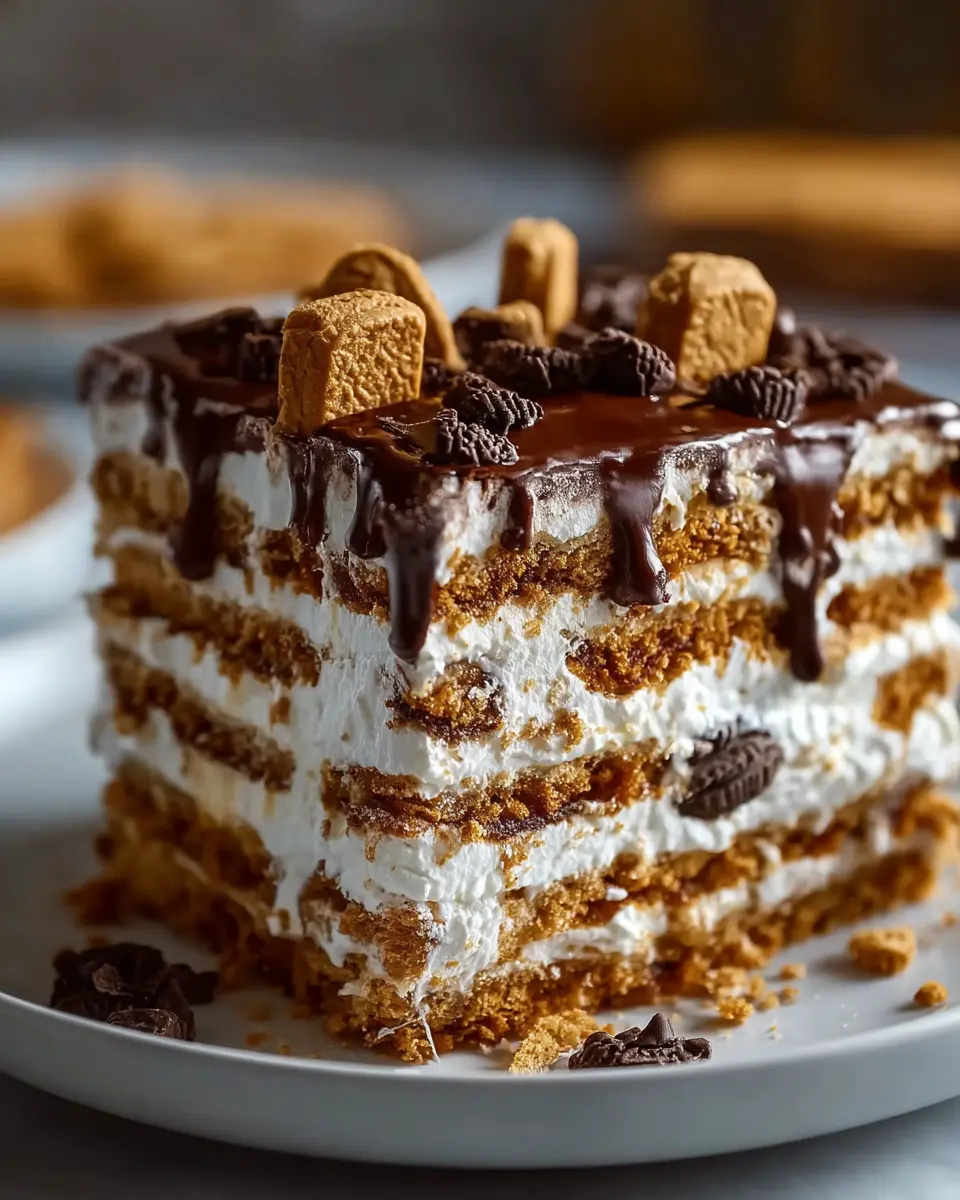
Variations on No-Bake Cookie Icebox Cake
Chocolate Cookie Variations
Transform your no-bake cookie icebox cake into a chocolate lover's dream! Swap out your spiced cookies for chocolate wafer cookies or Oreos, creating a rich and indulgent base. For an extra decadent touch, consider adding chocolate chips or a dark chocolate ganache between the layers. The creamy mascarpone filling complements the rich chocolate perfectly, making each bite utterly blissful.
Seasonal Flavor Infusions
Embrace the seasons with your no-bake cookie icebox cake! In spring, think about adding fresh strawberries or lemon zest for a light, refreshing twist. During fall, incorporate pumpkin spice or caramel drizzle for a warm, comforting dessert. For winter, why not add some peppermint extract and crushed candy canes? The possibilities are endless, and each variation can become a highlight for your gathering.
Experiment, enjoy, and wow your friends!
Cooking Notes for No-Bake Cookie Icebox Cake
Creating the perfect no-bake cookie icebox cake is a breeze with a few handy tips. Start by allowing your heavy cream to chill in the refrigerator; cold cream whips better, resulting in a fluffier texture. As you layer your cookies, consider using a mix of whole cookies and broken pieces to ensure every bite packs a punch of flavor. If you’d like to enhance the crunch, sprinkle crushed spiced cookies between layers.
For a stunning finish, let your cake chill overnight – this really allows the flavors to meld! And remember, a sharp knife makes for cleaner slices. Need inspiration for serving? Try pairing it with fresh berries or a drizzle of chocolate sauce for that extra flair! For more tips on no-bake desserts, check out resources from The Kitchn and Food Network.
Serving Suggestions for No-Bake Cookie Icebox Cake
When it comes to serving your no-bake cookie icebox cake, presentation can elevate the entire experience! Here are a few delightful serving suggestions:
-
Garnish with Crushed Cookies: A sprinkle of crushed spiced cookies on top adds both texture and visual appeal. It enhances the flavor while inviting guests to dig in.
-
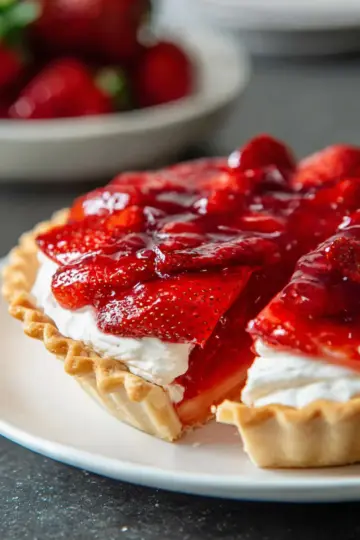
Pair with Fresh Berries: Serve slices alongside seasonal fruits like strawberries or raspberries for a burst of freshness. These tart flavors complement the creamy layers beautifully.
-
Drizzle with Chocolate Sauce: A drizzle of chocolate sauce can add an indulgent touch. It’s an easy way to make this dessert feel extra special for gatherings.
-
Coffee or Tea Accompaniment: Consider pairing the cake with a cup of your favorite coffee or tea. The warm flavors can contrast nicely against the cool creaminess of the cake.
With these tips, your no-bake cookie icebox cake will surely impress!
Tips for Making the Perfect No-Bake Cookie Icebox Cake
Creating the perfect no-bake cookie icebox cake is all about attention to detail and a little love in the kitchen. Here are some tips to help you nail it:
-
Choose the Right Cookies: Opt for crisp spiced cookies for better layering. They hold up well against the creamy filling, ensuring each bite has the perfect texture.
-
Prep Time Matters: Allow the cake to chill overnight for the best flavor and texture. Trust me, the wait is worth it!
-
Layer with Care: When layering cookies and cream, aim for even distribution. This helps every slice maintain that beautiful, layered look.
-
Sharp Knife for Slicing: Use a sharp knife to cut your cake—this will get you clean, neat slices that showcase your hard work.
With these tips, your dessert will surely impress! Want to dive deeper into dessert ideas? Check out resources on baking techniques to elevate your skills.
Time Breakdown for No-Bake Cookie Icebox Cake
Preparation Time
Getting everything ready for your no-bake cookie icebox cake is a breeze! You’ll just need about 15 minutes to whip up that delicious cream filling and layer everything together.
Chilling Time
The hardest part? Waiting! Allow your cake to chill in the fridge for at least 12 hours to ensure it sets beautifully. For the best texture and flavor, overnight chilling is recommended.
Total Time
In total, you’re looking at approximately 12 hours and 15 minutes from start to finish. Most of that time is hands-off, letting the cake do its magic in the fridge. Perfect for busy schedules!
For more tips on chilling times for desserts like this one, check out this article. It’s always good to know how to get the best results!
Nutritional Facts for No-Bake Cookie Icebox Cake
When you indulge in a slice of this delightful no-bake cookie icebox cake, it’s good to be informed about what you’re enjoying. Here’s a quick breakdown of the nutritional facts per serving to balance those sweet cravings:
Calories
Each serving of this creamy dessert contains approximately 350 calories, making it a rich treat perfect for special occasions.
Fat
With about 25 grams of fat per slice, the cake is decadent, largely due to the creamy heavy cream and mascarpone cheese used in the filling.
Sugar
This cake packs around 20 grams of sugar, offering just the right amount of sweetness without being overly overwhelming.
For more insights on the nutritional information behind your favorite desserts, check resources like the USDA FoodData Central to stay in the know about what you're serving!
FAQs about No-Bake Cookie Icebox Cake
Can I use different types of cookies?
Absolutely! While this no-bake cookie icebox cake shines with spiced cookies, you can experiment with other varieties. Think about chocolate, vanilla wafers, or even ginger snaps! Just ensure they're crisp enough to hold their shape and absorb the creamy filling without falling apart.
How long can I store the cake?
You can store your no-bake cookie icebox cake in the refrigerator for up to one week. Just make sure it's covered tightly to keep the flavors fresh. However, it's best enjoyed within the first few days for optimal taste and texture—those delicious layers can become a bit softer over time.
What can I serve with it?
Enhance your dessert experience by serving the icebox cake with fresh fruits, like strawberries or blueberries, or a drizzle of caramel or chocolate sauce. A dollop of whipped cream on top adds an extra touch of indulgence. You could even pair it with a cup of coffee or herbal tea for a delightful end to your meal.
Conclusion on No-Bake Cookie Icebox Cake
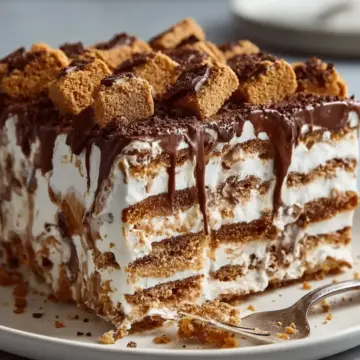
The no-bake cookie icebox cake is the perfect dessert for any occasion, combining ease and indulgence. Its creamy layers of spiced cookies and mascarpone filling create a delightful experience that will impress your friends and family. Perfect for gatherings or a simple weeknight treat, it’s bound to become a favorite! Enjoy every bite!
No-Bake Cookie Icebox Cake (Creamy Layered Dessert)
Equipment
- loaf pan
- electric mixer
- plastic wrap
Ingredients
Creamy Filling
- 2 cups heavy cream
- ½ cup smooth spiced cookie spread
- ⅓ cup mascarpone cheese
- 2 tablespoons powdered sugar
- 1 teaspoon vanilla extract
- 1 pinch salt
Cookies
- 60 to 70 crisp spiced cookies
- ⅓ cup smooth spiced cookie spread warmed
- Crushed spiced cookies optional
Instructions
Preparation
- Line a loaf pan with plastic wrap, leaving overhang.
- Beat heavy cream until soft to medium peaks form.
- Add cookie spread, mascarpone, sugar, vanilla, and salt. Beat until smooth.
- Layer cookies in the pan, then spread cream mixture.
- Repeat layers, finishing with cookies.
- Cover and refrigerate for at least 12 hours.
- Lift from pan, drizzle topping, and serve.

Leave a Reply