
Introduction to Classic Angel Food Cake Recipe
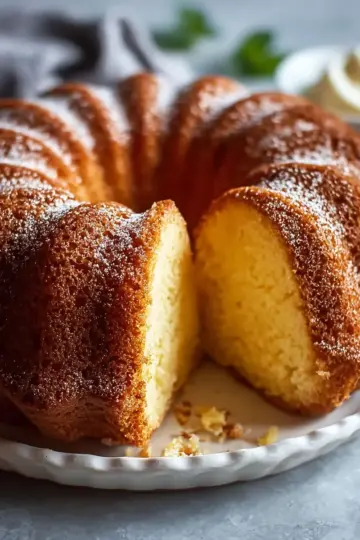
When it comes to homemade desserts, few can rival the heavenly allure of an angel food cake. This dessert is absolutely delightful, with its light, fluffy texture and subtle sweetness making it a crowd-pleaser at any gathering. Whether you’re celebrating a special occasion or simply indulging in a midweek treat, mastering a classic angel food cake recipe is a skill that pays off deliciously.
Homemade desserts have a unique charm; they evoke memories of family gatherings and festive celebrations. The process of baking can be therapeutic, inviting you to get creative in the kitchen. Plus, there’s something truly rewarding about sharing a made-from-scratch cake with friends and family. Did you know that homemade cakes allow you to control ingredients and cater to dietary preferences? This angel food cake, for instance, is naturally low in fat, making it a lighter alternative to many traditional desserts.
In the following sections, you’ll discover just how easy it is to create a classic angel food cake that’s both light and fluffy. This foolproof recipe is perfect for novice bakers and seasoned pros alike. Ready to get started? Let’s dive into the details!
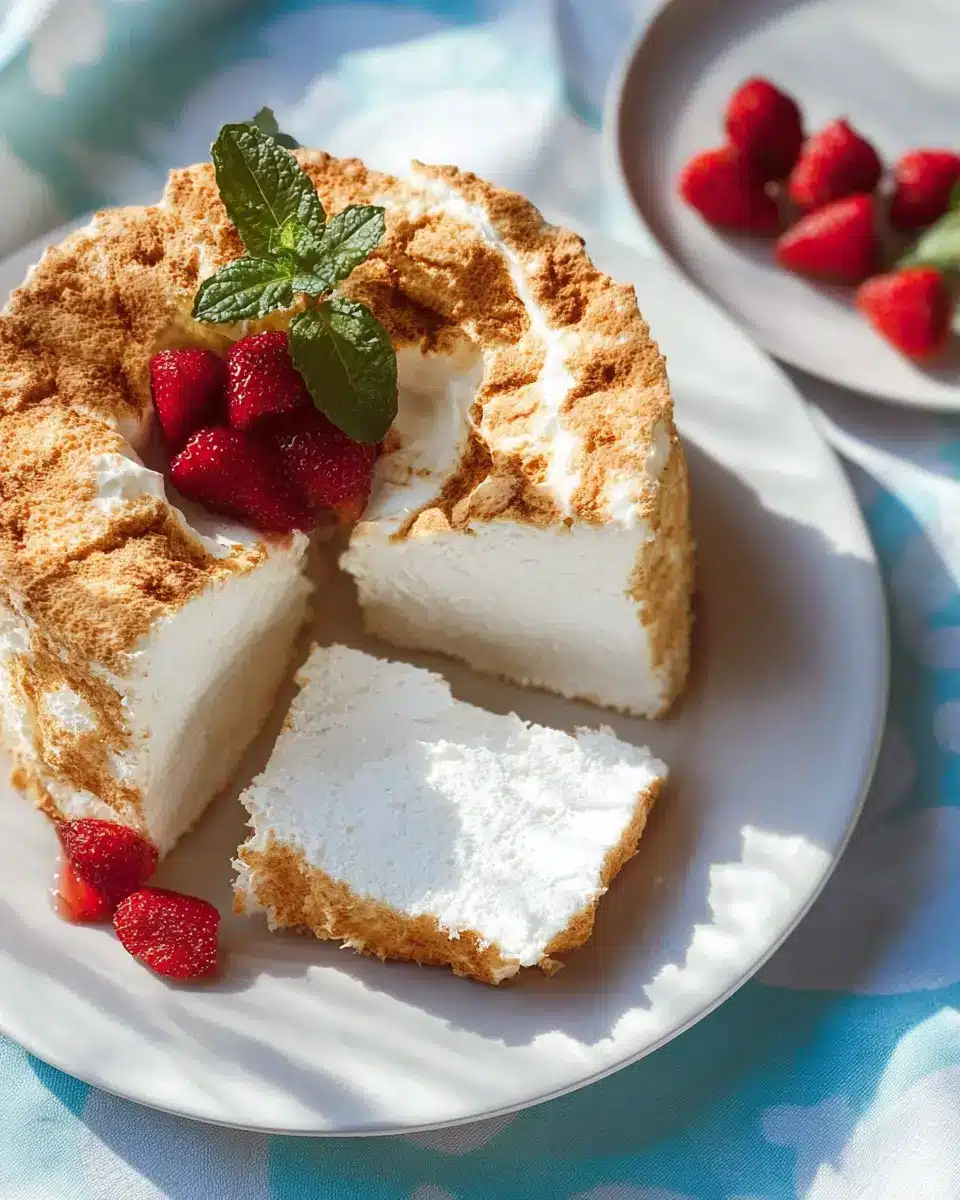
Ingredients for Classic Angel Food Cake
Essential ingredients for a light and fluffy cake
Creating a truly classic angel food cake requires a handful of essential ingredients that come together to produce that signature light and fluffy texture everyone adores. Here’s what you’ll need:
- Unbleached All-Purpose Flour or Cake Flour (1 cup): This is the base of your cake and plays a crucial role in achieving that airy quality.
- Sugar (1 ½ cups): Not just for sweetness, sugar also helps to stabilize the egg whites and adds moisture.
- Large Egg Whites (1 ½ cups, or about 10-12 eggs): The heart and soul of an angel food cake, egg whites that are room temperature whip up to a fantastic volume.
- Salt (½ teaspoon): Just a pinch enhances flavor and balances the sweetness.
- Vanilla Extract (1 teaspoon): This adds a warm, comforting aroma.
- Cream of Tartar (1 ½ teaspoons): An essential stabilizer that helps keep the meringue firm.
Quality matters: choosing the right flour and eggs
When making your classic angel food cake recipe, opt for high-quality ingredients. Cake flour is ideal as it has a lower protein content than all-purpose flour, resulting in a softer texture. Likewise, using fresh, organic eggs will give you the best flavor and the fluffiest results. Do you ever find yourself wondering why these details matter? The answer lies in the science of baking: the right ingredients make all the difference in achieving that perfect rise and texture. For more tips on ingredient selection, check out Serious Eats.
With these ingredients in hand, you’re well on your way to impressing friends and family with a delicious, classic angel food cake!
Preparing Classic Angel Food Cake
Step 1: Preheat and Prepare Your Pan
To truly appreciate this classic angel food cake recipe, start by preheating your oven to 325°F. This is the optimal temperature for creating that perfect rise and airy texture we all crave. It's important to use a tube pan for this recipe, as it helps the cake maintain its structure while baking. Don’t grease or flour the pan, as the batter needs to cling to the sides for it to rise properly. Trust me, you want your cake to soar!
Step 2: Whisk the Dry Ingredients Together
In a large bowl, combine 1 cup of unbleached all-purpose flour (or cake flour) with ¾ cup of sugar. This step sets the foundation for a fluffy cake, so whisk them together thoroughly. It's a simple step, but one that makes a big difference! Set this mixture aside; it’s crucial that we introduce it carefully later for maximum fluffiness.
Step 3: Beat the Egg Whites to Perfection
Now it’s time to focus on the star ingredient—your egg whites. In a large mixing bowl, combine 1 ½ cups of large egg whites (at room temperature), ½ teaspoon of salt, and 1 teaspoon of vanilla extract. Beat these together until the mixture becomes frothy. The magic happens when you sprinkle in 1 ½ teaspoons of cream of tartar; this is the secret ingredient to stabilize your egg whites! Keep beating until you form stiff, glossy peaks that hold their shape. Overbeating can lead to a dry texture, so keep a watchful eye.
Step 4: Gradually Add Sugar and Fold in Flour Mixture
Once your egg whites are looking beautiful, it's time to add ¾ cup of sugar gradually—about ¼ cup at a time. This step allows your egg whites to maintain their structure as they absorb the sugar. After that, gently fold in the flour mixture, but do so little by little. Folding by hand might feel counterintuitive, but it’s essential for preserving that airy texture.
Step 5: Spoon the Batter into the Pan and Bake
Now comes the fun part! Spoon your fluffy batter into the prepared tube pan, ensuring it’s evenly distributed. Aim for a beautifully leveled top to help the cake rise evenly. Bake your cake for about 40 to 45 minutes or until it’s a lovely golden brown and springs back when lightly touched. This is a wonderful moment where your kitchen fills with delicious aromas!
Step 6: Invert the Cake for Cooling
As soon as your cake comes out of the oven, place it upside down on a heat-safe surface—like a bottle or plate, if it has prongs. This crucial step keeps the cake from flattening as it cools. Let it cool for 1.5 hours for the best results. Be patient; the cooling time is essential for a light and fluffy texture, allowing your classic angel food cake to shine.
By following these simple yet essential steps, you’ll be well on your way to creating a delightful dessert that’s sure to impress friends and family. Ready to slice into that fluffy goodness? Enjoy your baking adventure!
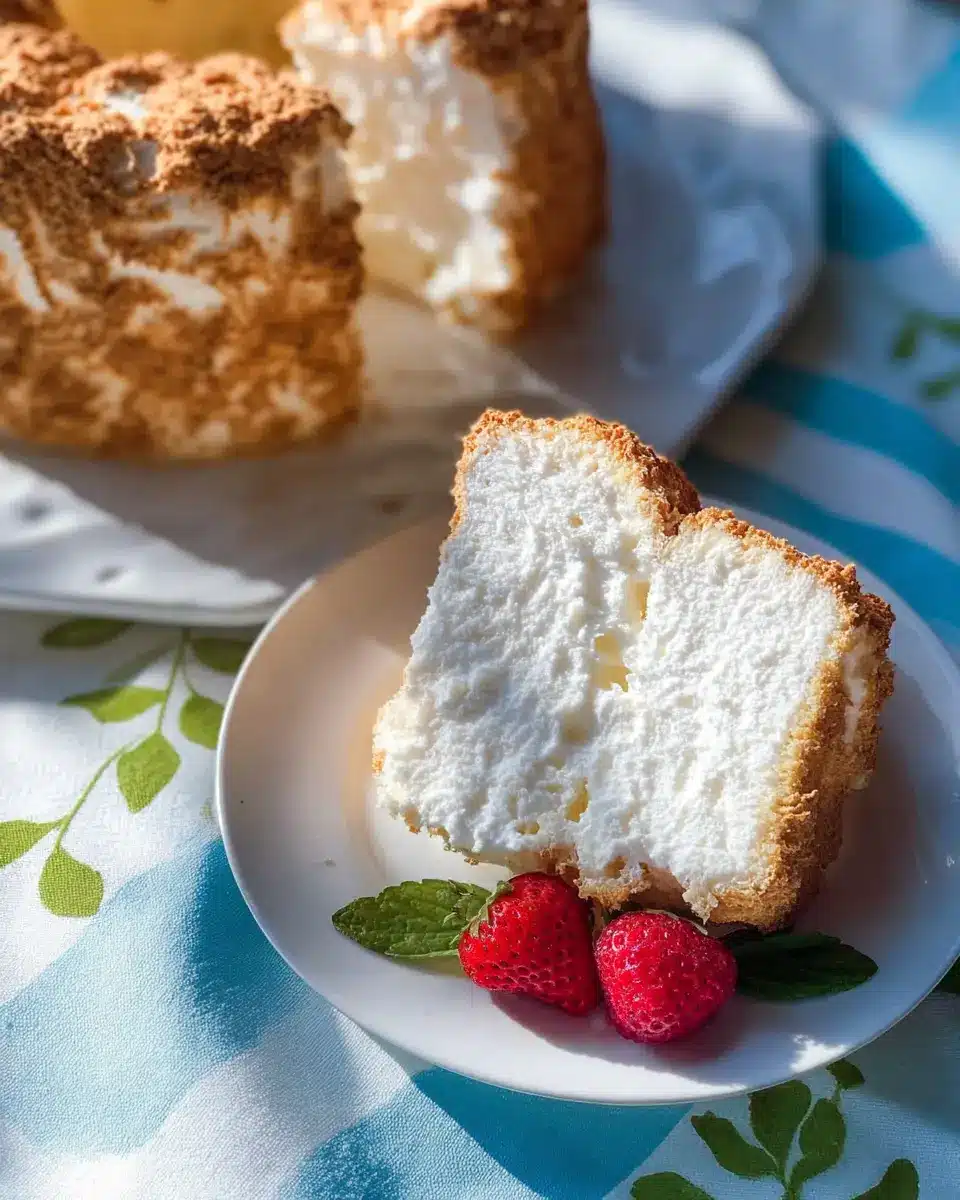
Variations on Classic Angel Food Cake
Classic angel food cake is delicious, but why stop there? Here are some fun variations to elevate your baking game!
Adding Fruit Flavors: Berry-Infused Angel Food Cake
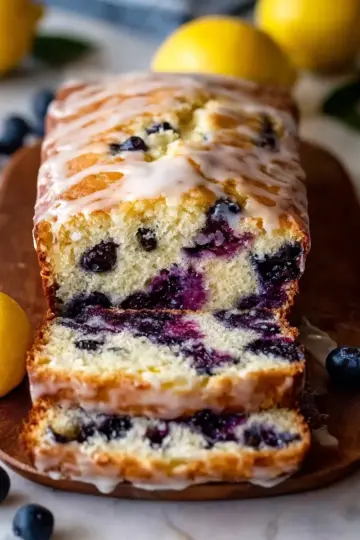
Incorporate your favorite berries for a refreshing twist! Simply fold in about a cup of puréed strawberries, blueberries, or raspberries to the batter. This not only adds a burst of flavor but also introduces a vibrant color to your cake.
Substituting Vanilla with Lemon or Almond Extract
Give your classic angel food cake recipe a flavor upgrade by swapping the vanilla extract for lemon or almond extract. Lemon offers a bright, citrusy appeal that pairs beautifully with fresh fruit toppings, while almond extract delivers a delightful nuttiness that’s simply irresistible.
Experimenting with these variations will keep your guests guessing and make your angel food cake even more exciting!
Baking Notes for Classic Angel Food Cake
Common Pitfalls and How to Avoid Them
Making a classic angel food cake recipe sounds delightful, but certain pitfalls can lead to disappointing results. The most common issues include:
- Overbeating Egg Whites: This can cause them to become dry and grainy. Aim for glossy, stiff peaks without going overboard.
- Not Folding Properly: Gently fold the flour and sugar mixture into the egg whites using a spatula to maintain that airy structure.
- Greased Pans: Avoid greasing your tube pan! This prevents the cake from climbing the sides and rising properly.
Importance of Room Temperature Egg Whites
Using room temperature egg whites is crucial. They whip up more easily to form those beautiful peaks that give angel food its signature lightness. To speed up the process, separate your eggs and let them sit out for about 30 minutes before using. This small detail can make a big difference in your cake's texture! For more tips on egg whites, check out this helpful resource.
By keeping these notes in mind, you’ll be well on your way to crafting a fluffy and foolproof classic angel food cake!
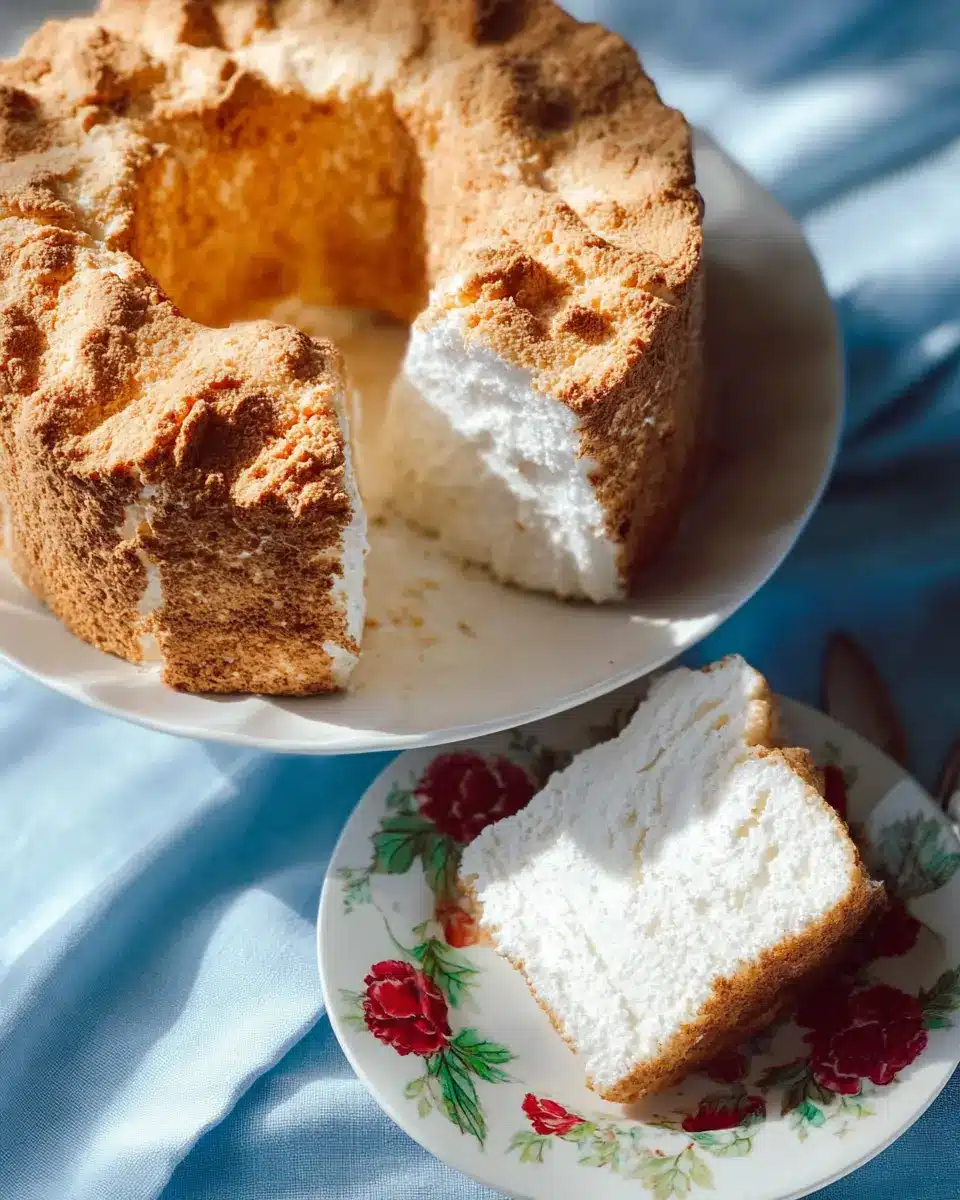
Serving Suggestions for Classic Angel Food Cake
Pairing with Fresh Berries and Whipped Cream
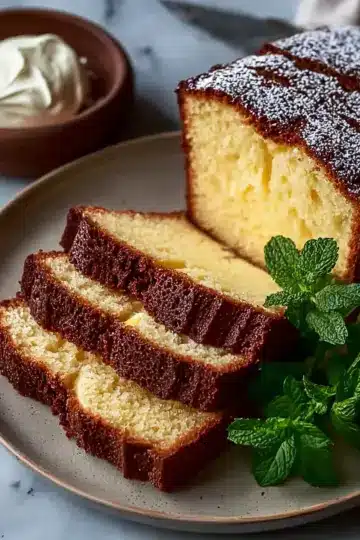
A slice of classic angel food cake truly shines when topped with fresh berries and velvety whipped cream. Ripe strawberries, blueberries, or raspberries add a pop of color and a burst of flavor, perfectly balancing the cake’s airy sweetness. Simply pile them high, drizzle with a bit of honey or a light dusting of powdered sugar, and watch as your dessert transforms into a stunning treat that’s perfect for any occasion.
Creative Toppings: Chocolate Ganache or Lemon Curd
For those looking to elevate their angel food cake experience, consider adding a drizzle of rich chocolate ganache or zesty lemon curd. Chocolate ganache brings a decadent element, melting into the cake and adding depth. On the other hand, lemon curd offers a refreshing zing that complements the cake’s lightness. This versatile dessert is practically a canvas for your creativity, making it easy to impress guests without breaking a sweat!
Time Breakdown for Classic Angel Food Cake
When diving into this classic angel food cake recipe, it's essential to plan your time wisely for the best results. Here’s a quick breakdown to keep you on track:
Preparation Time
Plan on about 20 minutes for prepping your ingredients and mixing the batter. This is crucial for getting that light, airy texture.
Baking Time
Once your cake goes into the oven, expect it to bake for 35 to 40 minutes. Just enough time to fill your kitchen with that irresistible aroma!
Cooling Time
Don’t rush after baking—let it cool for 1.5 hours upside down in the pan. This step is vital to prevent collapsing and ensures your cake stays fluffy.
With these timeframes in mind, you’ll be ready to impress with your light, fluffy angel food cake! For more tips on texture, check out this helpful guide on baking techniques.
Nutritional Facts for Classic Angel Food Cake
Calories per serving
Each slice of this delightful classic angel food cake recipe contains about 136 calories. This makes it an excellent option if you’re looking for a light dessert that doesn’t skimp on flavor.
Macros: Protein, Carbohydrates, and Sugars
When it comes to macronutrients, this cake is relatively simple:
- Protein: 1g
- Carbohydrates: 33g
- Sugars: 25g
These numbers might surprise you, but with a fluffy texture and sweet taste, it's a dessert to savor without the guilt! If you're curious about balancing your meals, feel free to check out resources from the USDA for more nutritional insights. Enjoy baking!
FAQs about Classic Angel Food Cake
How can I ensure my angel food cake doesn’t collapse?
To prevent your classic angel food cake from collapsing, the most crucial step is to let it cool upside down after baking. This keeps the structure intact as it cools. Avoid greasing your pan, as the batter needs to cling to the sides for stability. Lastly, make sure to fold the flour and sugar mixture gently into the egg whites, maintaining that precious volume you worked hard to achieve!
What’s the best way to store leftovers?
To keep your cake fresh, store any leftovers in an airtight container at room temperature for up to two days. If you have more cake than you can eat, wrap it tightly in plastic wrap and aluminum foil, placing it in the freezer for up to three months. This way, you can enjoy your angel food cake anytime you crave its light, fluffy goodness!
Can I make this cake in advance?
Absolutely! You can prepare your classic angel food cake recipe a day in advance. Once it’s completely cooled, carefully remove it from the pan, cover it with plastic wrap, and store it at room temperature. This makes it a perfect make-ahead dessert option for gatherings!
Relish in the joy of homemade sweetness
In conclusion, this classic angel food cake recipe is more than just a dessert; it’s a delightful experience. With its light and fluffy texture, it’s perfect for any occasion. Embrace your baking journey, and let the smiles from your loved ones be your sweetest reward! Enjoy!
Classic Angel Food Cake Recipe: Light, Fluffy, and Foolproof
Equipment
- stand mixer
- Tube Pan
Ingredients
- 1 cup unbleached all-purpose flour or cake flour
- 1.5 cups sugar
- 1.5 cups large egg whites room temperature (10-12 eggs)
- 0.5 teaspoon salt
- 1 teaspoon vanilla
- 1.5 teaspoons cream of tartar
Instructions
Preparation
- Preheat the oven to 325°. Be sure to not grease or flour your angel food cake pan. You could use a 10" round pan or an angel food loaf pan.
- In a large bowl, whisk together the flour and ¾ cup of the sugar; set aside.
Whipping Egg Whites
- In a large mixing bowl, combine the egg whites, salt, and extract. When the mixture becomes just frothy, sprinkle the cream of tartar on top and continue beating until the mixture forms stiff, glossy peaks.
- Take care not to over beat the mixture.
Combining Ingredients
- Add the remaining sugar, ¼ cup at a time, then fold in the flour mixed with ¾ cup of sugar in small portions at a time. Be sure that you are folding these ingredients by hand, and not using your mixer.
Baking
- Spoon the batter into the pan making sure it’s evenly distributed all around, and bake the cake for 40 to 45 minutes, or until it's golden brown and the top springs back when lightly touched.
Cooling
- Remove the cake from the oven, and as soon as you remove it, set it upside down with a bottle through its center cone to keep its top from flattening on the counter. Let the cake cool for 1 ½ hours.
- It’s very important to completely cool so the cake won’t collapse on itself when you remove it from the pan.
Serving
- Carefully loosen the edges of the cake with a knife, and remove it from the pan.
- Slice and enjoy!
Storage
- Store the cake, covered, on the counter for up to two days. This cake can freeze, very well wrapped, for up to 3 months.
Leave a Reply