
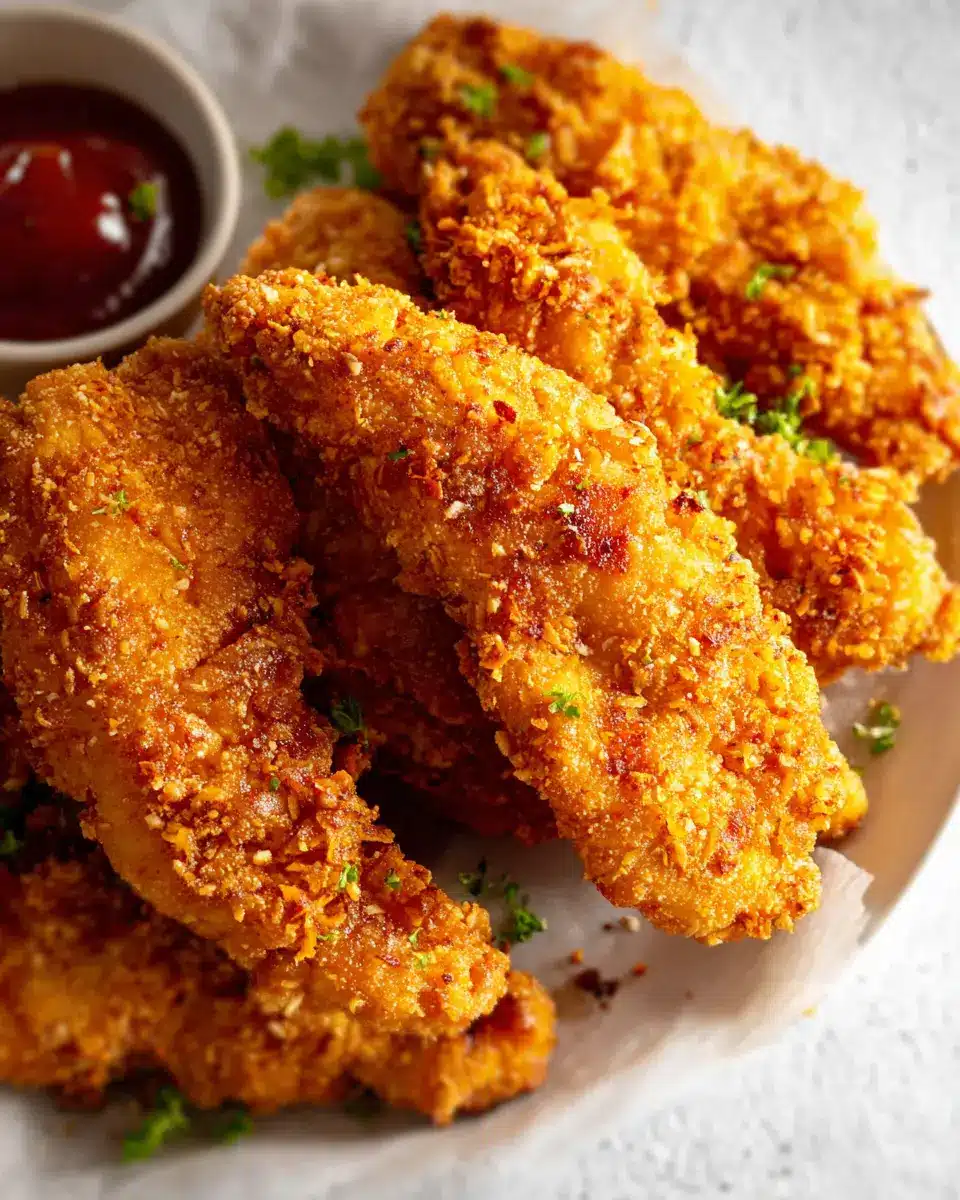
Introduction to Gluten Free Chicken Tenders
When busy young professionals encounter dietary restrictions or preferences, finding quick and satisfying meal options can feel daunting. That's where gluten-free chicken tenders come to the rescue! Not only are they delicious, but they also cater to those with gluten sensitivities or celiac disease. According to the Celiac Disease Foundation, about 1 in 100 people worldwide are affected by celiac disease, making gluten-free options increasingly vital.
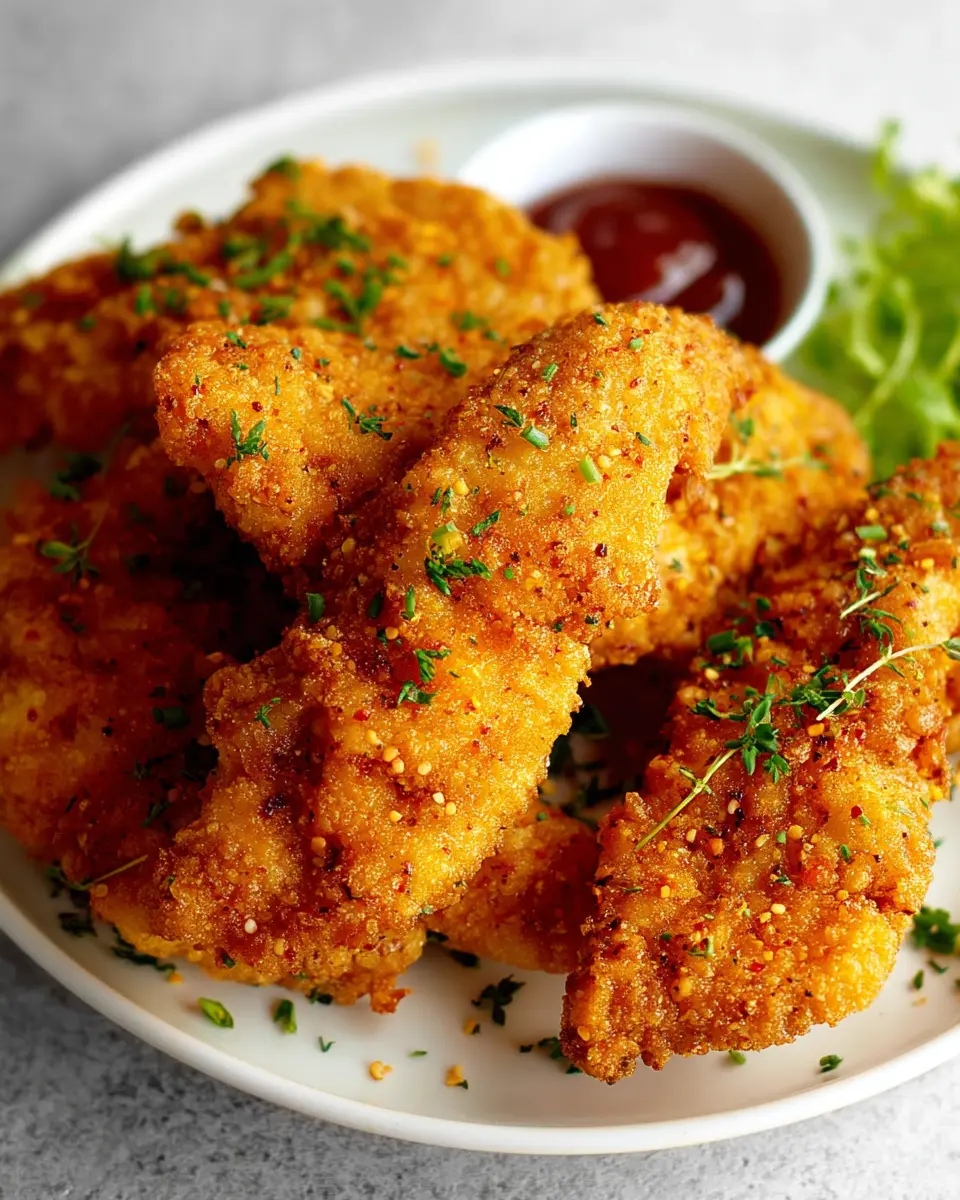
Moreover, as more people become health-conscious, skipping gluten can lead to better digestion and increased energy levels. You might ask yourself: how can a meal be both healthy and comforting? These gluten-free chicken tenders strike the perfect balance, offering a crispy texture and savory flavor that rival traditional recipes. Whether you’re an avid home cook or just looking to whip up a batch for a casual dinner, these tenders can easily fit into your busy schedule.
With just a few simple ingredients, you can prepare a tasty meal in under 30 minutes. Plus, they’re versatile enough to pair with your favorite dipping sauces or sides. Let’s dive into this easy recipe and discover how you can enjoy the crunchy goodness of chicken tenders without the gluten!
Ingredients for Gluten Free Chicken Tenders
Essential Ingredients for Crispy Tenders
Creating the perfect gluten free chicken tenders starts with a few essential ingredients. For this recipe, you will need:
- 1 pound chicken tenders: Fresh, high-quality chicken is the star of the dish. Look for tenders already cut for convenience.
- ⅓ cup gluten free all-purpose flour: This gives the chicken a light coating.
- 1 teaspoon paprika: Adds color and a smoky flavor.
- 1 teaspoon garlic powder: A pantry staple that enhances taste.
- 1 teaspoon onion powder: Complements the chicken beautifully.
- 2 teaspoons salt: Essential for seasoning.
- 2 eggs: Used to help the coating adhere.
- 1 ¼ cups gluten free breadcrumbs: This is what will give your tenders that crispy crunch!
Optional Ingredients for Added Flavor
If you want to take your gluten free chicken tenders up a notch, consider adding some optional ingredients:
- 2 teaspoons Old Bay seasoning: Perfect for a unique seafood-inspired taste.
- Fresh herbs: A sprinkle of parsley or thyme can brighten up the flavor.
- Lemon zest: For a hint of citrus that balances the richness.
- Cayenne pepper: If you like a spicy kick!
Feel free to experiment with these ingredients to customize your tenders. Remember, a pinch of creativity can elevate any dish!
Step-by-step Preparation of Gluten Free Chicken Tenders
Creating gluten-free chicken tenders at home is not just a breeze but also a fulfilling task that fills your kitchen with enticing aromas. Let’s walk through the preparation together in a way that makes it easy and fun!
Gather Your Ingredients
Before diving in, it’s essential to gather all your ingredients. Here’s what you’ll need:
- 1 pound chicken tenders (about 8 tenders)
- ⅓ cup gluten free all-purpose flour
- 1 teaspoon paprika
- 1 teaspoon garlic powder
- 1 teaspoon onion powder
- 2 teaspoons salt
- 2 eggs
- 1 ¼ cups gluten free breadcrumbs
- 2 teaspoons old bay seasoning
Having everything ready will make your cooking experience much smoother!
Prepare the Chicken Tenders
If you’ve got fresh chicken tenders, great! Trim away any unwanted bits for a clean presentation. For those using whole chicken breasts, the key is to pound them to an even thickness and then slice them into strips to make tender pieces.
Mix the Dry Ingredients
In a large bowl, combine your dry ingredients: gluten-free flour, paprika, garlic powder, onion powder, and salt. Whisk them together until they're evenly mixed. This mix is crucial for building flavor, so don’t rush this step!
Beat the Eggs
In a separate bowl, crack open the eggs and beat them until they're nice and frothy. This egg wash adds moisture and helps the breadcrumbs adhere to the chicken, giving you that perfectly crisp coating.
Create the Breadcrumb Mixture
Next, in another bowl, mix the gluten-free breadcrumbs with the old bay seasoning. The Old Bay adds a distinctive flavor that makes the tenders truly irresistible. If you haven't tried it yet, you'll love the blend of spices!
Coat the Chicken Tenders
Now for the fun part! Toss the chicken tenders into the flour mixture, ensuring they are fully coated. Then, dip each tender into the beaten eggs and finally into the breadcrumb mixture. Press down firmly to help the breadcrumbs stick. If you prefer an extra thick coating, feel free to repeat the egg and breadcrumb steps once more.
Air Fry or Bake the Tenders
If you're using an air fryer, preheat it to 380°F and place the coated tenders in the basket. Lightly spray them with oil for that crispy texture. Air fry for 12-16 minutes, flipping halfway through until they’re golden brown and cooked through. Alternatively, for oven-baking, set the temperature to 425°F and follow the same process on a wire rack over a baking sheet.
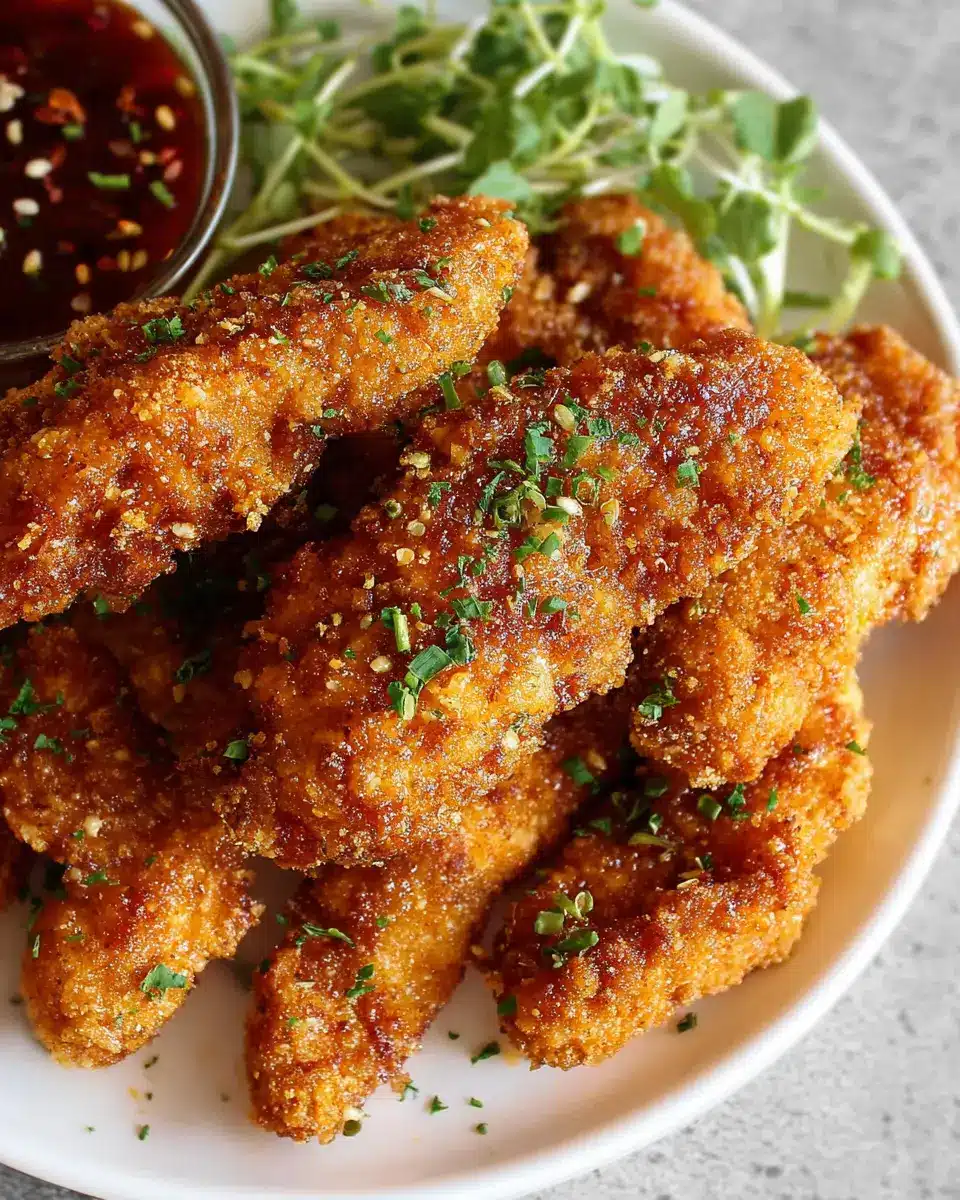
Cool and Serve
Once cooked, let the chicken tenders cool slightly before diving in. Serve them with your favorite dipping sauce—ketchup always works wonders, but feel free to get creative! Enjoy every crispy, flavorful bite of your delightful gluten-free chicken tenders.
Now that you have this step-by-step guide, what are you waiting for? Get in the kitchen and whip up this delicious meal!
Variations on Gluten Free Chicken Tenders
Seasonal Flavor Variations
As the seasons change, so can your gluten free chicken tenders! In spring, add fresh herbs like parsley or dill to the breadcrumb mix. For summer, consider a zesty lemon and rosemary combo. Autumn brings the perfect opportunity to use pumpkin spice or sage for a cozy vibe. Winter can be enhanced with hearty flavors like thyme or even a dash of cinnamon for a sweet twist—just adjust your seasonings to complement your mood.
Spice It Up with International Seasonings
Take your gluten free chicken tenders on a global adventure! For an Italian flair, mix in some Italian seasoning and grated Parmesan. Craving something spicy? A blend of taco seasoning can give you that kick, while a curry spice blend adds warmth without too much heat. Consider experimenting with za'atar for a Middle Eastern touch or Cajun spices for Southern comfort—a delicious way to swap routine for excitement!
Cooking Tips and Notes for Gluten Free Chicken Tenders
Common Mistakes to Avoid
When preparing Gluten Free Chicken Tenders, it's easy to overlook a few key steps that can make or break your dish. For instance, double-check that your gluten-free breadcrumbs are indeed gluten-free, as some brands may not be. Additionally, avoid overcrowding your air fryer or baking sheet; this can lead to uneven cooking, making some tenders soggy instead of crispy.
Ingredient Substitutions for Dietary Needs
If you're looking for alternatives to suit specific dietary preferences, you’ve got options! For a lower-carb version, simply replace half of the breadcrumbs with almond flour—this adds a delightful nutty flavor. If you're dairy-free, ensure your breadcrumbs don’t contain milk powder, or consider making your own from gluten-free bread. Feel free to explore different seasonings and herbs to personalize the flavor profile to your taste.
By being mindful of these tips, you're sure to whip up the perfect Gluten Free Chicken Tenders that everyone will love!
Serving Suggestions for Gluten Free Chicken Tenders
Ideal dips and sauces
Pair your Gluten Free Chicken Tenders with a variety of delicious dips that elevate the flavors. Classic ketchup is always a hit, but consider mixing things up with:
- Honey mustard: A sweet and tangy contrast.
- Buffalo sauce: For a spicy kick that packs a punch.
- Ranch dressing: Creamy and flavorful, it’s a crowd favorite.
- BBQ sauce: Smoky and sweet, perfect for dipping.
Perfect side dishes to complement your tenders
To round out your meal, serve your tenders with some tasty sides that balance the dish. Here are a few suggestions:
- Sweet potato fries: Their sweetness complements the salty crunch of the tenders.
- Coleslaw: A refreshing addition that cuts through the richness.
- Steamed veggies: Broccoli or green beans add a healthy touch.
- Quinoa salad: A protein-packed option that’s both filling and nutritious.
With these suggestions, your Gluten Free Chicken Tenders can shine on any dinner table!
Time Breakdown for Gluten Free Chicken Tenders
Preparation Time
Getting ready to cook your gluten free chicken tenders takes just about 15 minutes. This includes washing, trimming, and coating the chicken pieces with your flavorful spices and breadcrumbs.
Cooking Time
Once prepped, these tenders take roughly 15 minutes to cook. If you're using an air fryer, they'll crisp up beautifully during this time.
Total Time
In just 30 minutes, you can indulge in delicious, homemade gluten free chicken tenders. Perfect for a quick dinner or as a crowd-pleasing appetizer!
Nutritional Facts for Gluten Free Chicken Tenders
Calories per serving
Each serving of these gluten free chicken tenders packs a delightful 186 calories, making them a satisfying yet light option for lunch or dinner.
Protein content
With an impressive 18 grams of protein per serving, these tenders are not only tasty but also a great source of lean protein, perfect for muscle repair and growth.
Key nutritional highlights
These tenders also offer 20 grams of carbohydrates and 4 grams of healthy fats. Plus, they've got a touch of fiber and sugar, ensuring you get a balanced bite with every crunch. Enjoy them guilt-free as a tasty snack or meal option! For more on healthy eating, check out the USDA's nutritional guidelines.
FAQs about Gluten Free Chicken Tenders
Can I use other meats instead of chicken?
Absolutely! While gluten free chicken tenders are a classic favorite, you can experiment with other proteins. Try using turkey cutlets, which can be just as juicy and delicious. For a different flavor, consider pork tenderloin or even beef strips—just adjust cooking times accordingly to ensure they are fully cooked.
How do I store leftover chicken tenders?
Storing leftover chicken tenders is simple! Let them cool to room temperature and place them in an airtight container. They can stay fresh in the refrigerator for up to 3 days. To reheat, simply pop them in the oven or air fryer at 350°F until crispy to bring back that delightful crunch.
What are some gluten-free dipping sauces?
Elevate your meal with some tasty gluten-free dipping sauces! Classic options include:
- Homemade ketchup
- Honey mustard
- Buffalo sauce
- Barbecue sauce
Just make sure to check labels for gluten-free status, or better yet, whip up some homemade versions for a healthier twist. Happy dipping!
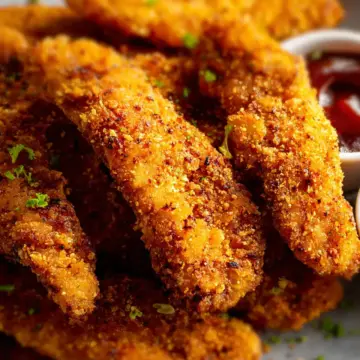
Conclusion on Gluten Free Chicken Tenders
In conclusion, these Gluten Free Chicken Tenders offer a delightful crunch and rich flavor that anyone can enjoy. Whether you're cooking for a family or meal prepping for the week, this easy recipe is versatile and satisfying. Pair them with your favorite sauce, and you’re ready to dig in!
Gluten Free Chicken Tenders
Equipment
- Air Fryer
- baking sheet
- wire rack
Ingredients
- 1 pound chicken tenders about 8 tenders
- ⅓ cup gluten free all purpose flour see notes for alternatives
- 1 teaspoon paprika
- 1 teaspoon garlic powder
- 1 teaspoon onion powder
- 2 teaspoons salt
- 2 pieces eggs
- 1 ¼ cups gluten free breadcrumbs
- 2 teaspoons old bay seasoning
Instructions
- Preheat your air fryer to 380 Fahrenheit. See notes for oven instructions.
- Trim off any weird looking bits from the chicken tenders, or pound and cut whole breasts into strips.
- In a large bowl, whisk together the flour, paprika, garlic, onion powder and salt.
- In a second bowl, whisk the eggs.
- In a third bowl, whisk together the breadcrumbs and old bay seasoning.
- Add the chicken tenders to the bowl with the flour and toss to combine until coated.
- Dip each tender in the eggs, then into the breadcrumbs, pressing the breadcrumbs on each piece.
- Add the prepared chicken to your air fryer basket and spray lightly with an oil spray.
- Air fry for 12-16 minutes, flipping halfway, until cooked through to the center and crispy and golden on the outside.
- Let cool slightly, then serve with ketchup and enjoy!
Leave a Reply