
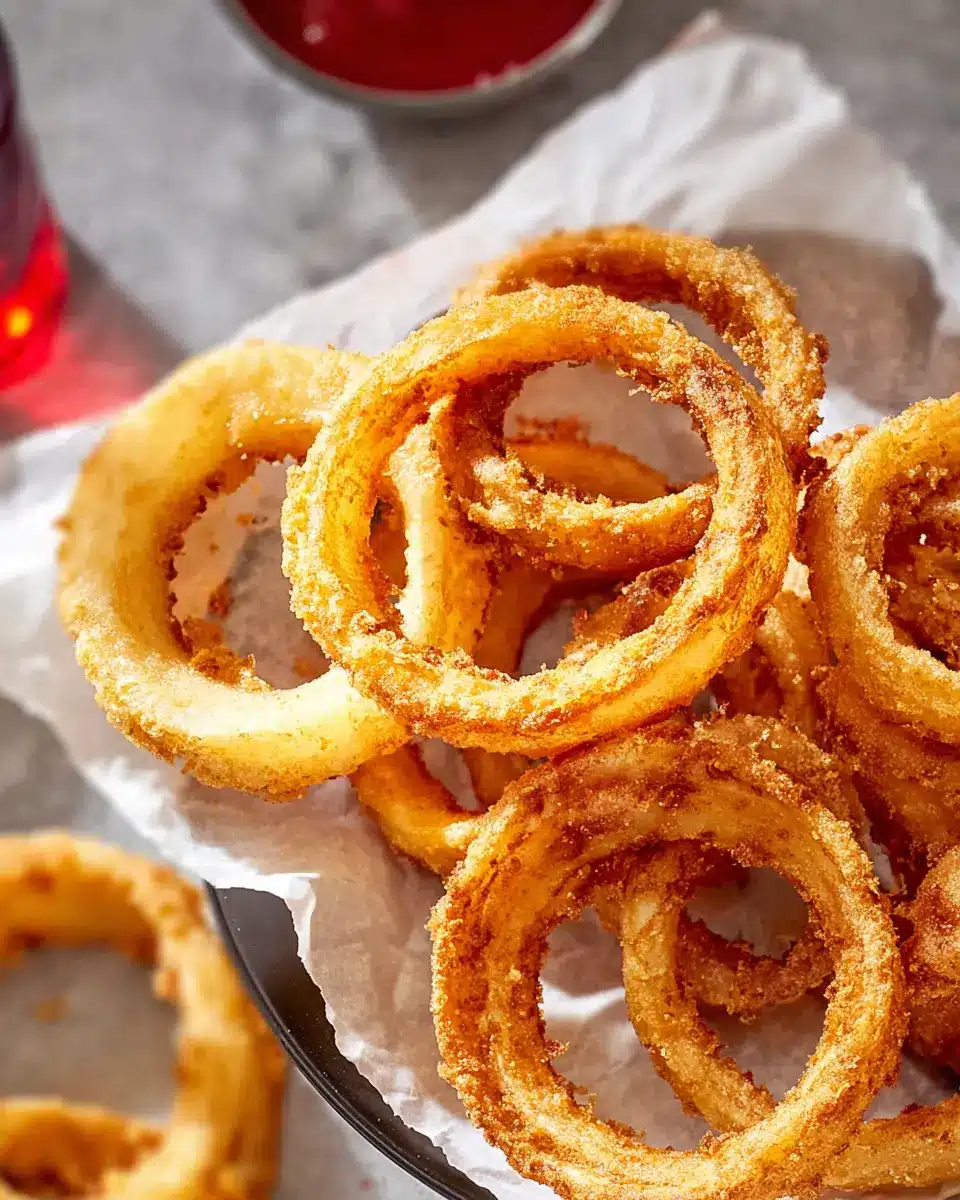
Introduction to Old-Fashioned Onion Rings
Onion rings have a special place in the world of comfort food—they're crispy, savory, and downright delicious. When it comes to old-fashioned onion rings, there’s something about making them from scratch that just hits differently. Homemade onion rings allow you to customize flavors to your liking and can be a healthier alternative to those greasy ones you’d find in restaurants. Plus, there's a certain joy in mastering the art of deep-frying!
Why Homemade Onion Rings Are a Great Choice
Making your own onion rings can be a super fun cooking experience, especially if you're experimenting with flavors. You’ll be amazed at how simple it is! When you fry these rings at home, you can control the ingredients. This also means you can skip any questionable additives that often come in store-bought options.
Imagine biting into a perfectly crispy onion ring, with the sweet, juicy onion bursting through—it’s an experience you don’t want to miss. Don't take our word for it; home-cooked meals are backed by many nutritionists as a healthier choice. Cooking at home can also be more cost-effective. Why not whip up a batch for your next game night? It'll be a crowd-pleaser! For more on the benefits of home cooking, check out this study.
With our recipe, you’ll be well on your way to serving up restaurant-worthy onion rings right in your own kitchen!
Ingredients for Old-Fashioned Onion Rings
Crafting the perfect old-fashioned onion rings at home begins with selecting the right ingredients. Let's dive into what you'll need to create those irresistibly crispy treats that are just as good as you'd find in a favorite diner.
- 1 Large Vidalia or Other Sweet Onion: This onions' natural sweetness is key to achieving that tender inside.
- 1 Quart Oil for Frying: Peanut or vegetable oil works best; make sure you have enough to submerge the rings fully.
- 1 ¼ Cups All-Purpose Flour: This forms the base of your batter, giving the onion rings their crunch.
- 1 Teaspoon Baking Powder: A little lift goes a long way, ensuring a light and airy texture.
- 1 Teaspoon Salt: Adds flavor; you can adjust to your taste!
- 1 Cup Milk: Use whole milk for richness, but any kind will do.
- 1 Large Egg: A binder that adds moisture and helps the batter adhere to the onions.
- ¾ Cup Dry Bread Crumbs: For that golden crunch on the outside.
- ⅛ Teaspoon Seasoned Salt: Optional but recommended for that extra flavorful kick.
Be sure to check out this guide on choosing the right onion for more insights on what works best here!
Step-by-step Preparation of Old-Fashioned Onion Rings
Making old-fashioned onion rings at home can be a fun and satisfying experience. Not only do you get to enjoy those crispy, golden delights just like at your favorite diner, but you also get to share the joy with friends or family. Here’s a step-by-step guide to help you whip up this mouthwatering treat!
Gather your ingredients
First things first—let’s round up all the ingredients you’ll need. Here’s what you should have on hand:
- 1 large Vidalia or other sweet onion
- 1 quart oil for frying (or as needed)
- 1 ¼ cups all-purpose flour
- 1 teaspoon baking powder
- 1 teaspoon salt
- 1 cup milk (or as needed)
- 1 large egg
- ¾ cup dry bread crumbs
- ⅛ teaspoon seasoned salt (or to taste)
Having everything organized lets you concentrate on creating those crispy onion rings without any interruptions.
Slice the onions
Grab your Vidalia onion and slice it into rings about ¼-inch thick. The thickness can impact the texture, so a steady hand can help—remember, no pressure! If you enjoy a sweeter onion, the Vidalia variety is perfect; however, any sweet onion will do.
Prepare the oil
While you're slicing, it’s a great time to heat your oil. Use a deep fryer or a heavy pot and bring the oil up to around 365 degrees F (185 degrees C). This temperature is key for achieving that perfect crunch. Keep an eye on it; if you don’t have a thermometer, you can test it with a small piece of bread—if it sizzles, you're good to go.
Set up a breading station
To make breading as easy and mess-free as possible, you'll want to create a breading station. Set out three wide, shallow dishes. In the first dish, whisk together the flour, baking powder, and salt. In the second dish, mix the milk and egg together until well combined. Finally, place the dry bread crumbs in the third dish. This assembly line approach makes coating the onion rings a breeze!
Coat the onion rings
Now comes the fun part—coating! Start by dipping each onion ring into the flour mixture, ensuring it's fully coated. Then, transfer it to the egg mixture, using a fork to turn and coat it gently. After that, roll the onion ring in the bread crumbs until it’s well coated, ensuring that crispy layer really sticks on.
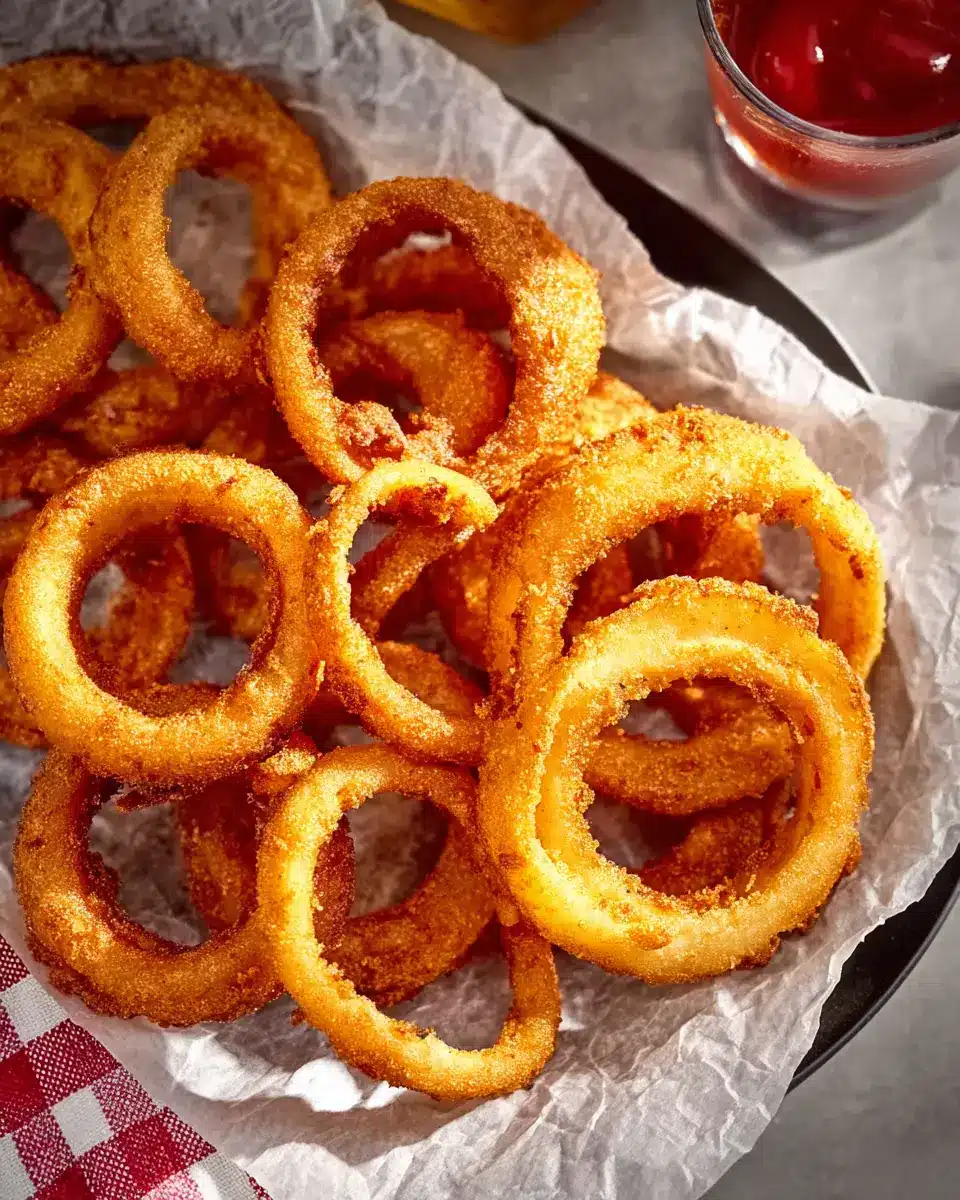
Deep-fry the onion rings
Once coated, it’s time for the frying fun! Carefully place 3 to 4 onion rings into the hot oil, making sure not to crowd the pan. Fry them for about 2 to 3 minutes until they are golden brown and delicious. Remember, the key here is patience and vigilance!
Drain and season
After frying, use a slotted spoon to transfer the rings to a wire rack or paper towels to drain any excess oil. Sprinkle them with seasoned salt for that final touch before you dig in. There’s nothing quite like the feeling of serving up your own old-fashioned onion rings!
And there you have it—an easy, step-by-step guide to creating the perfect onion rings right at home! Enjoy them as an appetizer, a side, or just a snack while binge-watching your favorite show. Consider trying variations like spicy seasoning or adding a dip to bring even more fun to the table!
Variations on Old-Fashioned Onion Rings
Spicy Onion Rings with a Kick
If you want to turn your old-fashioned onion rings into a fiery delight, try adding some spices to the batter! Incorporate cayenne pepper or smoked paprika into the flour mix for a serious kick. You could also experiment with adding jalapeños to the flour mixture or even dusting your rings with chili powder before serving. This spicy twist is perfect for those who crave a little heat!
Gluten-Free Onion Rings
For a gluten-free version of these beloved old-fashioned onion rings, simply swap the all-purpose flour with a gluten-free flour blend, and make sure your breadcrumbs are also gluten-free. This makes it easy for everyone to enjoy the crispy goodness. Serve with a delicious dip, like homemade ranch or avocado cream, for an irresistible snack that everyone can savor! For more gluten-free tips, check out Gluten-Free Living.
Cooking Tips and Notes for Old-Fashioned Onion Rings
Making old-fashioned onion rings at home can be a delightful experience! Here are some tips to ensure your rings turn out perfectly crispy and golden:
-
Choosing the Right Onion: Opt for sweet onions like Vidalia for a tender bite. Their sweetness complements the crispy coating and enhances flavor.
-
Dough Consistency: The batter shouldn’t be too thick or too runny. A good consistency will result in an even coating. Adjust with more milk or flour as necessary.
-
Frying Temperature: Use a thermometer to maintain oil at 365°F—this is crucial! At the right temperature, your rings will cook quickly, preventing excess oil absorption.
-
Double-Dipping for Crunch: For extra crunch, consider double-breading your onion rings. After the initial fry, let them cool slightly and dip a second time before frying again.
Employ these suggestions for a satisfying snack or appetizer, and don’t forget to serve them with your favorite dipping sauce for an irresistible treat!
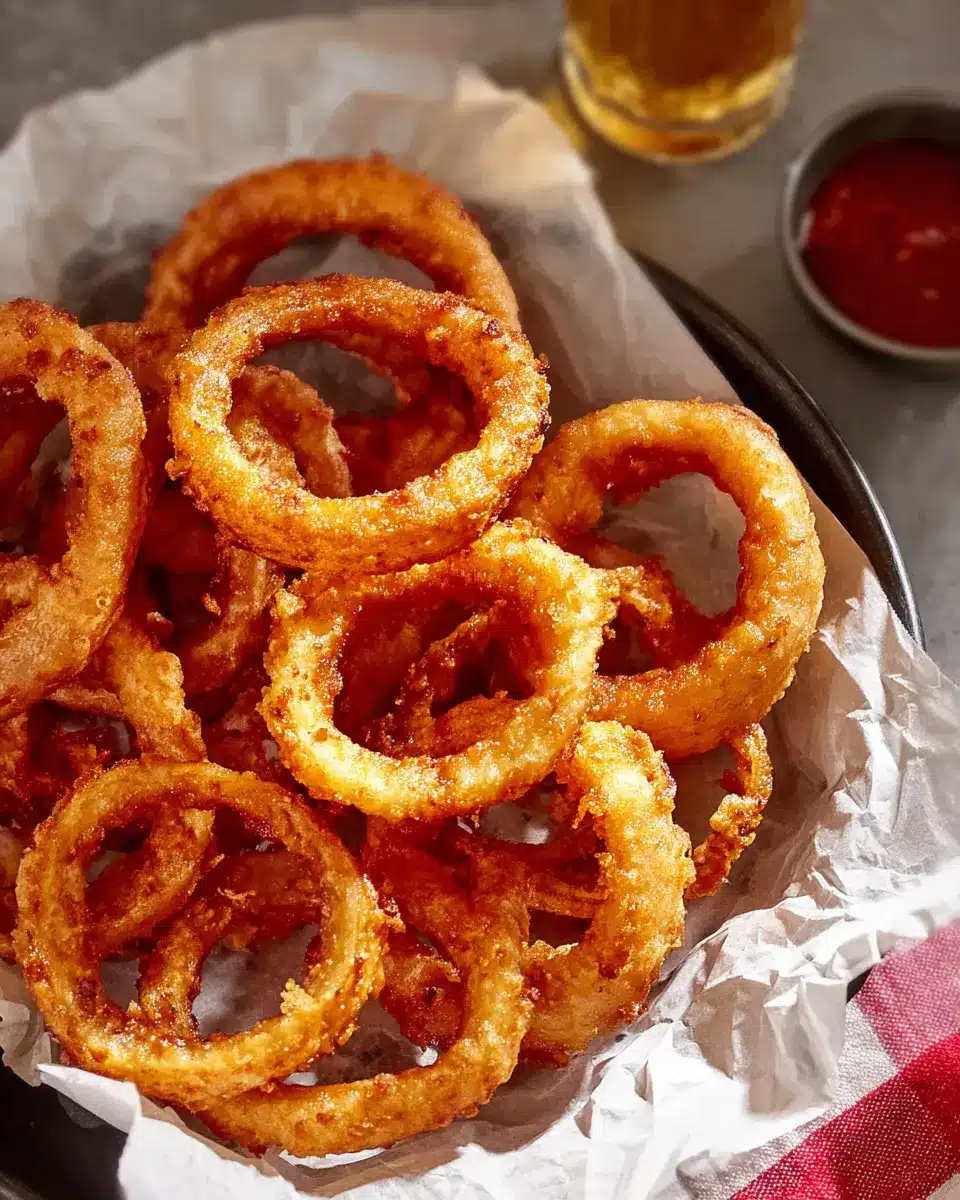
Serving Suggestions for Old-Fashioned Onion Rings
When it comes to serving old-fashioned onion rings, think beyond the usual!
-
Dipping Sauces: A variety of dipping sauces can elevate your onion rings. Consider offering classic choices like tangy ketchup, creamy ranch dressing, or zesty sriracha mayo. For a unique twist, try a homemade chipotle aioli or a honey mustard dip.
-
Accompaniments: Pair your onion rings with savory treats like turkey bacon sliders or chicken ham sandwiches for a delightful meal. Serve them alongside a fresh salad to balance the rich flavors.
-
Presentation: Stack the old-fashioned onion rings in a rustic basket lined with parchment paper for a charming presentation. This not only looks appetizing but also keeps them warm!
These simple serving suggestions will transform your onion rings into a standout snack, perfect for any gathering!
Time Breakdown for Old-Fashioned Onion Rings
Preparation Time
Making your own old-fashioned onion rings is a delightful process! You’ll need about 15 minutes to prepare everything, from gathering ingredients to slicing the onions just right. This short time frame allows you to get everything set for frying.
Cooking Time
Once you’ve got your onions prepped, the cooking is a breeze. You’ll spend around 15 minutes deep-frying those onion rings to golden perfection. It’s a quick, satisfying cooking period that fills your kitchen with mouthwatering aromas.
Total Time
All together, you’re looking at a delightful 30 minutes to whip up these delicious onion rings. In just half an hour, you’ll have a delicious appetizer ready to serve, perfect for impressing friends or indulging yourself. For a detailed guide on cooking times for different dishes, check out Serious Eats.
Ready to take a dive into the crunchy goodness of homemade old-fashioned onion rings? Let’s get frying!
Nutritional Facts for Old-Fashioned Onion Rings
When indulging in homemade old-fashioned onion rings, knowing their nutritional value can help you enjoy them guilt-free. Here's a quick glimpse at what you’re savoring:
Calories
These delightful onion rings pack about 641 calories per serving, making them a hearty treat.
Total Fat
With 35 grams of total fat, they contain the richness that gives onion rings their satisfying crunch.
Sodium
Be mindful of the 1,272 milligrams of sodium per serving, which highlights the need for moderation, especially if you're watching your salt intake.
Feel free to explore more about the health impacts of fried foods and learn effective cooking methods to boost nutrition through delicious alternatives. For some culinary inspiration, check out health-focused sites like Healthline or BBC Good Food.
FAQs about Old-Fashioned Onion Rings
How can I make my onion rings crispier?
To achieve crispy old-fashioned onion rings, double-dipping is your secret weapon! After coating each ring in the flour mixture, dip it back into the egg wash, followed by another layer of breadcrumbs. Additionally, ensure your oil is hot enough—around 365°F is ideal—for instant crispness. Fry in small batches to maintain the oil's temperature and allow those delicious rings to crisp up nicely.
What type of onion works best?
Opt for sweet onions like Vidalia or Walla Walla for your old-fashioned onion rings. Their sugar content enhances the flavor and contributes to a milder taste, making them perfect for this recipe. If you prefer a bit more bite, yellow onions are also a popular choice!
Can I air-fry onion rings instead of deep-frying?
Absolutely! If you're looking for a healthier alternative, air-frying is a great option. Preheat your air fryer, and coat the onion rings as you would for deep-frying. Cook at 375°F for about 10-12 minutes, flipping halfway through. Just keep in mind that while they may not be as golden brown, they can still taste amazing!
For more tips and tricks on cooking techniques, check out this Useful Guide.
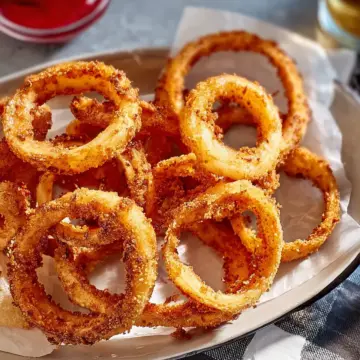
Conclusion on Old-Fashioned Onion Rings
In conclusion, old-fashioned onion rings are a delightful addition to any meal or a perfect snack on their own. With a crispy texture and sweet, tender onion inside, making them at home is easier than you'd think. Serve these with your favorite dipping sauce and enjoy the nostalgia!
Old-Fashioned Onion Rings
Equipment
- Deep fryer
- wire rack
- Shallow dishes
Ingredients
Onion Rings Ingredients
- 1 large Vidalia or other sweet onion
- 1 quart oil for frying or as needed
- 1.25 cups all-purpose flour
- 1 teaspoon baking powder
- 1 teaspoon salt
- 1 cup milk or as needed
- 1 large egg
- 0.75 cups dry bread crumbs
- 0.125 teaspoon seasoned salt or to taste
Instructions
Preparation Steps
- Gather all ingredients.
- Slice onion into ¼-inch-thick rings. Heat oil in a deep-fryer to 365 degrees F (185 degrees C). Place a wire rack over a sheet of aluminum foil.
- Prepare breading station by setting out 3 wide, shallow dishes. Whisk flour, baking powder, and salt together in the first dish. Whisk milk and egg together in the second dish. Place bread crumbs in the third dish.
- Dip each onion ring into the flour mixture, turning several times until fully coated with flour.
- Transfer to the egg mixture and use a fork to turn until coated. Lift onion with the fork and shake gently so excess liquid drips back into the dish.
- Place onion in the bread crumbs and turn several times to coat, scooping crumbs over the ring if necessary.
- Lift again with the fork, tap any excess bread crumbs back into the dish, and place on the wire rack while you prepare the remaining onion rings.
- Deep-fry 3 to 4 onion rings at a time in the preheated oil until golden brown, 2 to 3 minutes. Drain on paper towels while you deep-fry the remaining rings.
- Sprinkle with seasoning salt before serving.
Leave a Reply