
Introduction to Easy Tiramisu
What is Tiramisu, and Why is it Loved?
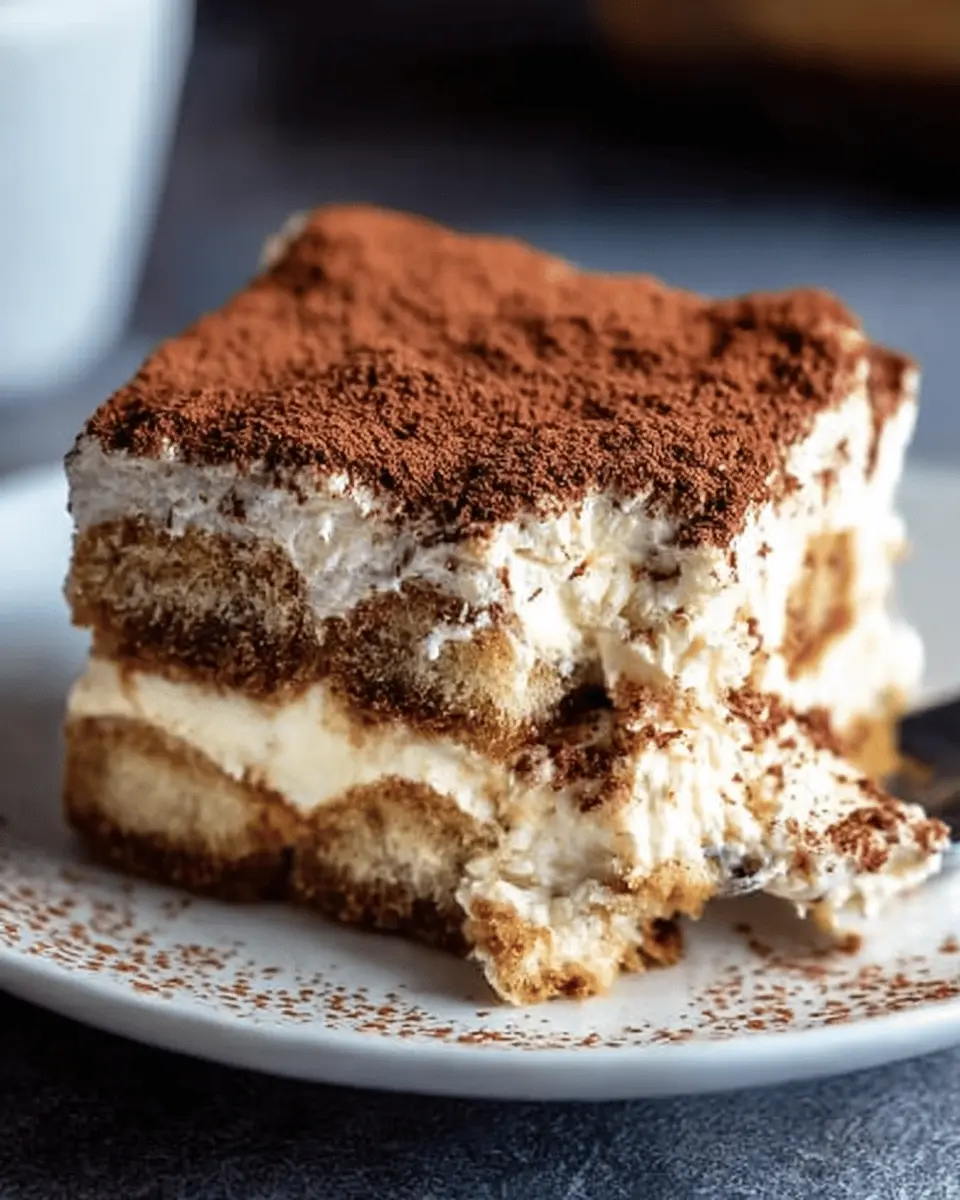
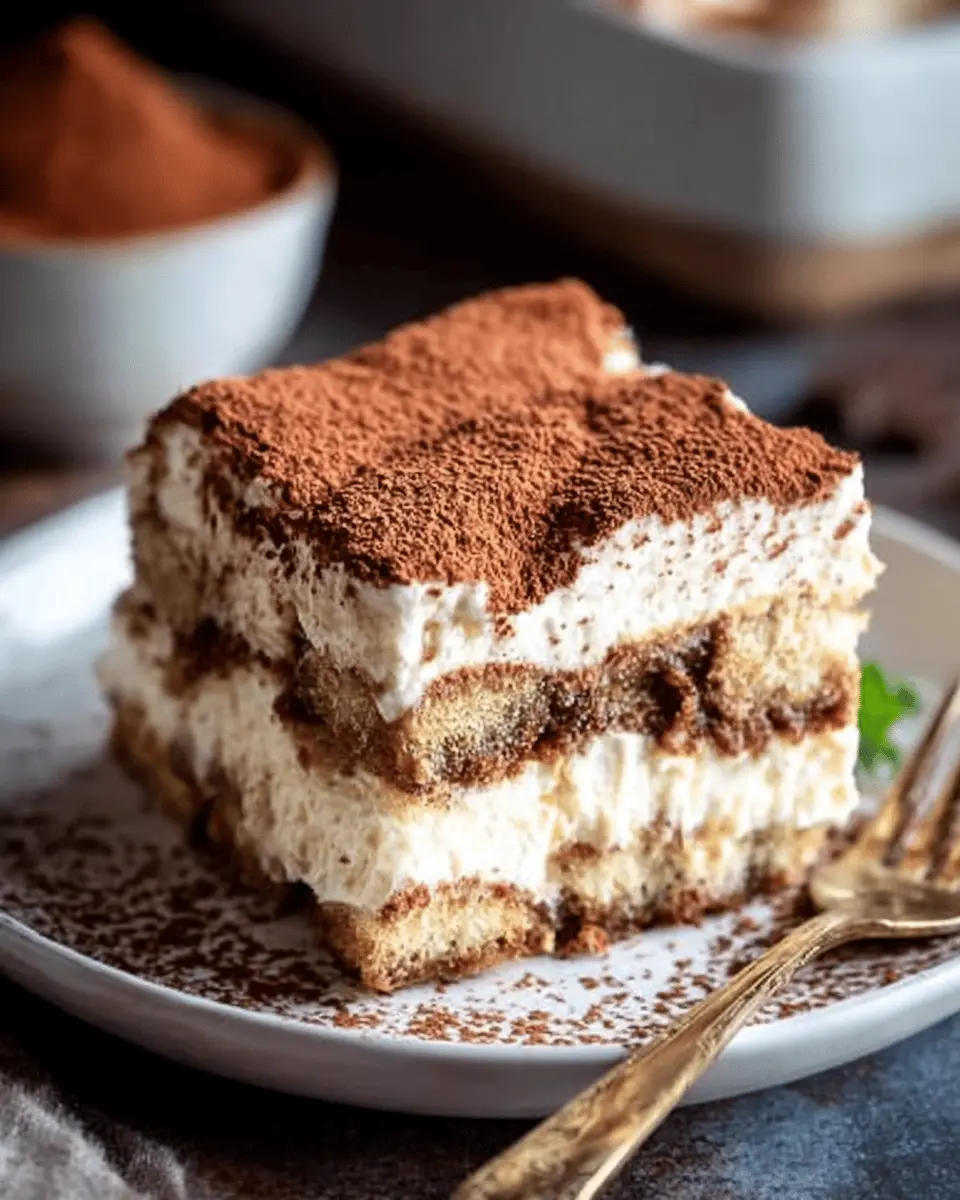
Tiramisu is more than just a dessert; it's an Italian classic that has captured the hearts of food lovers around the globe. Translated as "pick me up," it's a delightful layering of coffee-soaked ladyfingers, rich mascarpone cheese, and a dusting of cocoa that brings a sweet indulgence to any gathering. Many adore it not only for its luscious flavor but also for its creamy texture and the invigorating kick of coffee.
Why do we love easy tiramisu? It’s the perfect blend of simplicity and sophistication. With minimal ingredients, you can whip up this showstopper in under 10 minutes—a lifesaver for busy professionals or anyone looking to impress guests without the fuss. And the best part? It can be made ahead of time, allowing the flavors to blend beautifully while you kick back and relax.
For those intrigued by the origins of this decadent dessert, its roots trace back to the Veneto region of Italy. And while you can dive into the history on sites like Italy Magazine, it suffices to say that every bite of tiramisu is a celebration of flavor, culture, and comfort. So, let’s dive into this easy recipe and bring a taste of Italy to your kitchen!

Ingredients for Easy Tiramisu
When it comes to creating a delightful easy tiramisu, having the right ingredients makes all the difference. Let’s break down what you’ll need for this creamy dessert that’s sure to impress.
Essential ingredients you'll need
- Heavy whipping cream (1 ½ cups): For that luscious texture.
- Mascarpone cheese (8 ounces): The heart of tiramisu, adding richness.
- Granulated sugar (⅓ cup): Sweetness to balance the coffee.
- Vanilla extract (1 teaspoon): A hint of warmth and flavor.
- Cold espresso (1 ½ cups): Freshly brewed for a robust taste.
- Lady Fingers (1 package): The classic Savoiardi for the perfect structure.
- Cocoa powder: For the iconic dusting on top.
Optional ingredients for an enhanced flavor
- Coffee-flavored liqueur (3 tablespoons): Such as Kahlua, this adds depth.
- Dark chocolate shavings: A brilliant garnish for an extra touch of elegance.
Why not explore some variations? Adding a splash of vanilla or even a hint of almond extract could give your tiramisu a unique twist. For more tips on enhancing desserts, check out this guide on flavor combinations.
Gather these ingredients and get ready to indulge in a truly delightful easy tiramisu!
Step-by-step Preparation of Easy Tiramisu
Making a classic tiramisu can sound like an intricate task, but it’s actually quite straightforward—especially with this easy tiramisu recipe. This step-by-step guide will help you navigate through the process smoothly, resulting in a dessert that's sure to impress!
Gather Your Ingredients
Before jumping into the mixing and layering, let’s ensure you have all your ingredients ready. Here’s what you’ll need:
- 1 ½ cups heavy whipping cream
- 8 ounces mascarpone cheese (room temperature)
- ⅓ cup granulated sugar
- 1 teaspoon vanilla extract
- 1 ½ cups cold espresso (prepared and cooled)
- 3 tablespoons coffee-flavored liqueur (optional, Kahlua or DaVinci)
- 1 package lady fingers (Savoiardi)
- Cocoa powder for dusting
Having everything on hand will streamline the process and keep you organized, so gather your ingredients and prep your workspace.
Make the Mascarpone Mixture
In a mixing bowl, add the heavy whipping cream. Using a hand mixer, beat on medium speed. Gradually add the granulated sugar and vanilla extract, continuing to mix until you achieve stiff peaks. This should take about 3-4 minutes. Next, fold in the mascarpone cheese until everything is combined and creamy. This mixture is the star of your easy tiramisu, so make sure it’s well-blended!
Prepare the Coffee Dipping Mixture
In a shallow bowl, mix your cold espresso and the optional coffee liqueur. This is where the magic happens; it infuses the lady fingers with that rich coffee flavor. Remember not to soak them for too long—just a quick dip on both sides will do.
Layering the Lady Fingers and Mascarpone
Now for the fun part—layering! Take your dipped lady fingers and lay them in a single layer at the bottom of an 8x8 inch dish. Once you've formed the first layer, spread half of the mascarpone mixture over the lady fingers. Enjoy the creaminess as it settles in! Add another layer of dipped lady fingers, followed by the remaining mascarpone mixture.
Final Touches and Refrigerating
Dust a generous amount of cocoa powder over the top of your layered creation. A fine mesh strainer works wonders for this. Cover your dish and let it refrigerate for at least 3-4 hours, or ideally overnight. This doesn’t just chill your easy tiramisu; it also allows those flavors to blend wonderfully.
The best part? This dessert gets even better with time, making it perfect for preparing in advance. Now, go ahead and dig in! Your creamy, delicious tiramisu is ready to impress your friends and family. Enjoy the culinary journey!
For more delightful dessert recipes, check out this guide to Italian desserts.
Variations on Easy Tiramisu
Tiramisu with Different Flavors
While the classic easy tiramisu recipe is timeless, exploring different flavors can elevate your dessert game! Consider using flavored coffee, like hazelnut or vanilla, to enhance the coffee experience. Want a fruity twist? Swap original cocoa powder for a layer of strawberry or raspberry puree between the mascarpone layers. For chocolate lovers, try folding cocoa powder directly into the mascarpone mix, or drizzle melted dark chocolate over the top before chilling.
Vegan or Dairy-Free Alternatives
If you’re looking for a vegan or dairy-free version of easy tiramisu, it’s entirely possible! Substitute the mascarpone with a cashew cream or silken tofu blended with coconut cream for a creamy texture. Opt for a plant-based whipped cream, like coconut or almond-based varieties, to keep it light and fluffy. Use dairy-free ladyfingers or sponge cake and ensure your coffee flavoring is alcohol-free if desired. These simple swaps can make a delightful dessert that everyone can enjoy!
Cooking Tips and Notes for Easy Tiramisu
How to Avoid Soggy Lady Fingers
To achieve that perfect balance of moist and firm lady fingers in your easy tiramisu, a quick dip is key. Simply dip the lady fingers in your cold espresso (mixed with coffee liqueur, if using) for just a second. Don't soak them! A quick dip ensures they're flavorful without falling apart.
Tips for Achieving the Perfect Consistency
When whipping your cream, make sure to stop once you reach stiff peaks—this will lend a delightful texture to your mascarpone mixture. Also, allow the mascarpone to come to room temperature before mixing; cold cheese can result in lumps. And remember, folding the mascarpone into the whipped cream gently is crucial to keep that airy lightness.
For more tips on mastering this Italian classic, check out serious eats.
Serving Suggestions for Easy Tiramisu
Ideal Accompaniments for Your Tiramisu
To elevate your easy tiramisu experience, consider pairing it with some delightful accompaniments. Fresh berries like raspberries or strawberries add a pop of color and a refreshing contrast to the creamy dessert. A side of whipped cream can enhance the indulgent nature of the tiramisu. If you’re feeling adventurous, a scoop of vanilla or coffee ice cream can perfectly complement the rich flavors.
For a warm touch, serve with a cup of freshly brewed coffee or espresso, allowing guests to savor the full Italian experience.
Presentation Tips to Wow Your Guests
When it comes to easy tiramisu, presentation matters. Consider serving individual portions in elegant glasses or jars, which not only look appealing but also make for an effortless serving. Dust the top with cocoa powder just before serving for that perfect touch. Adding a sprig of mint can provide a lovely pop of color.
Don’t forget about the serving platter—a beautifully arranged dessert can leave a lasting impression. For more creative serving ideas, check out this guide on dessert presentation.
With these tips, your easy tiramisu will not only taste fantastic but also impress your guests visually!
Time Breakdown for Easy Tiramisu
Preparation time
Preparing this easy tiramisu takes just about 10 minutes. You’ll assemble the layers quickly, allowing you to maximize your time enjoying the dessert!
Chilling time
The real magic happens during the chilling time. Let your tiramisu rest in the refrigerator for at least 3-4 hours—or overnight for the best flavor.
Total time
In total, from prep to chill, you're looking at about 3 hours and 10 minutes. This delicious dessert is worth the wait! For additional tips on perfecting your tiramisu, you can check out this guide on Italian desserts or explore variations of mascarpone-based desserts for inspiration.
Nutritional Facts for Easy Tiramisu
Calories per serving
Each serving of this easy tiramisu contains approximately 297 calories. It's a delightful indulgence that won't completely derail your day!
Key nutritional components
This dessert packs a moderate mix of macronutrients, including:
- Carbohydrates: 26g
- Protein: 5g
- Fat: 18g (with 11g being saturated fat)
Each bite brings not just flavor but also nutrients like calcium and vitamins A and C. To learn more about the nutritional profiles of your favorite desserts or healthy alternatives, you can check out resources like Healthline or NutritionData.
So, if you're looking to satisfy your sweet tooth while still being mindful of what you're eating, this easy tiramisu is a delightful option that offers a little bit of everything!
FAQs about Easy Tiramisu
Can I make tiramisu ahead of time?
Absolutely! Easy tiramisu is one of those delightful desserts that actually benefits from sitting in the fridge for a few hours or even overnight. This waiting time allows all the flavors to meld beautifully, enhancing each bite. You can prepare it up to 2 or 3 days in advance for the best results—just remember to cover it well to maintain its freshness!
What can I substitute for lady fingers?
If you can’t find lady fingers (Savoiardi), there are delicious alternatives! You might try using pound cake, sponge cake, or even vanilla wafers. These options work well by soaking them in the coffee mixture, so they retain some flavor and texture. Just be mindful of the soaking time to avoid sogginess.
How long does tiramisu last in the fridge?
When stored properly in an airtight container, your easy tiramisu will last for about 2 to 3 days in the fridge. Its creamy layers will remain indulgent, making it a perfect make-ahead treat for any gathering! For best results, consume it in that timeframe for optimal texture and taste.
For more tips on storage, check out this guide on dessert preservation.
Conclusion on Easy Tiramisu
Making an easy tiramisu is a delightful way to impress your friends and family without fussing over complicated techniques. Its rich, creamy layers offer a taste of Italy right in your home. Don’t forget to allow it to chill for optimal flavor; your patience will be rewarded! Enjoy!

Easy Tiramisu
Equipment
- 8x8 dish
- Hand Mixer
Ingredients
- 1.5 cups heavy whipping cream 360 ml
- 8 ounces mascarpone cheese room temperature (225 g)
- ⅓ cup granulated sugar 67 g
- 1 teaspoon vanilla extract 5 ml
- 1.5 cups cold espresso prepared (360 ml)
- 3 tablespoons coffee flavored liqueur optional (Kahlua or DaVinci brands) (45 ml)
- 1 package Lady Fingers Savoiardi brand
- Cocoa powder for dusting the top
Instructions
- Add whipping cream to a mixing bowl and beat on medium speed with electric mixers (or use a stand mixer). Slowly add sugar and vanilla and continue to beat until stiff peaks. Add mascarpone cheese and fold in until combined. Set aside.
- Add coffee and liqueur to a shallow bowl. Dip the lady fingers in the coffee (Don't soak them--just quickly dip them on both sides to get them wet) and lay them in a single layer on the bottom of an 8x8'' or similar size pan.
- Smooth half of the mascarpone mixture over the top. Add another layer of dipped lady fingers. Smooth remaining mascarpone cream over the top.
- Dust cocoa powder generously over the top (I use a fine mesh strainer to do this). Refrigerate for at least 3-4 hours or up to overnight before serving.


Leave a Reply