
Introduction to Watermelon Mochi
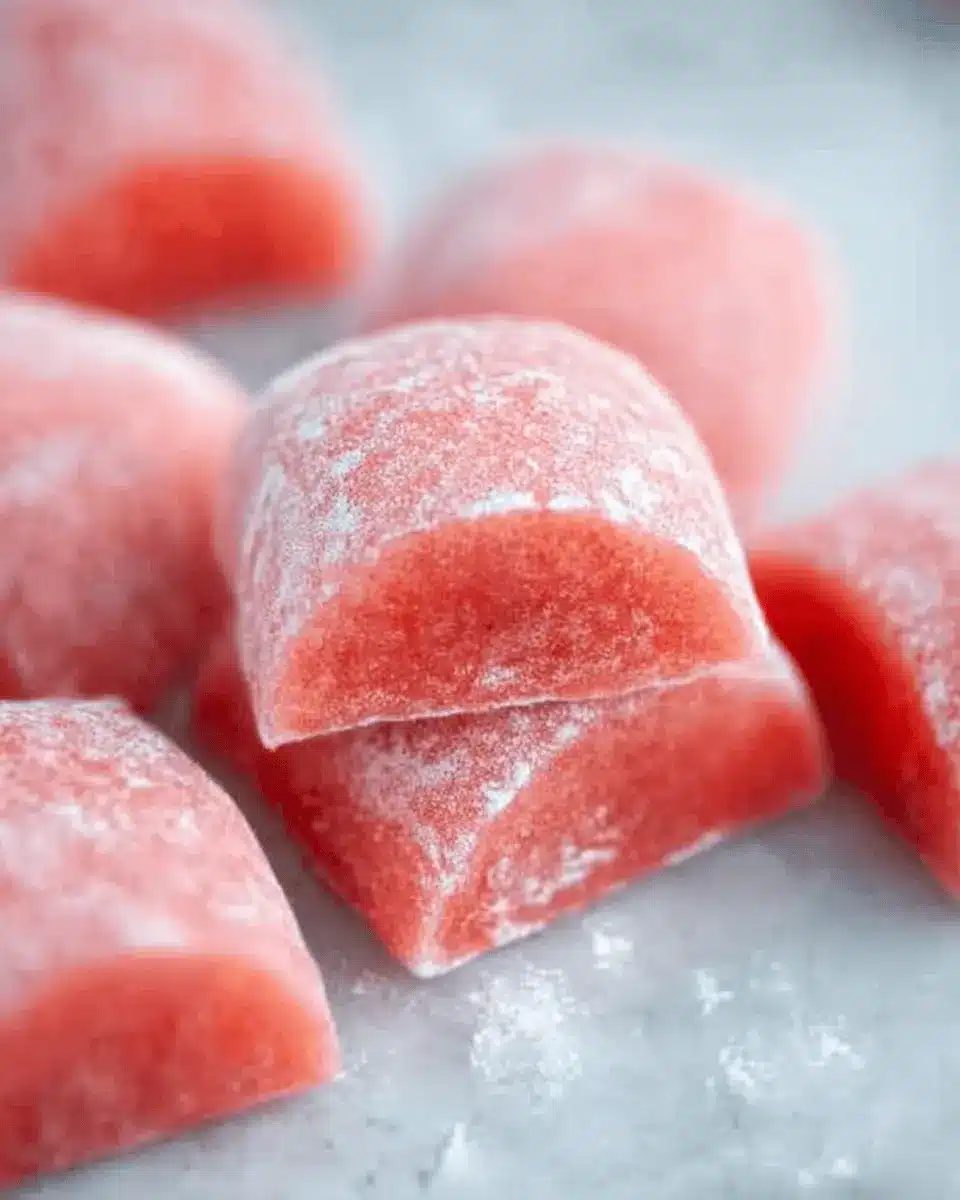
If you're looking for a delightful twist on classic mochi, watermelon mochi should be at the top of your list. This refreshing treat combines the chewy, comforting texture of traditional mochi with the sweet, juicy essence of fresh watermelon. Think summer picnics, gatherings with friends, or a simple dessert to enjoy after a long day. Plus, it’s incredibly easy to make at home!
Why Watermelon Mochi is the Perfect Homemade Treat?
Watermelon mochi stands out not just for its flavor, but for its versatility and visual appeal. Whether you’re impressing guests or treating yourself, these vibrant pink squares are sure to steal the show. Here’s why they’re fantastic for any occasion:
- Quick and Easy: With just 20 minutes of preparation time, you can whip up a delicious dessert without stress.
- Refreshing Flavor: The natural sweetness and juiciness of watermelon create a unique experience you won’t find in store-bought mochi.
- Healthier Option: Compared to many desserts, this mochi is low in calories and can be a guilt-free indulgence.
By incorporating fresh ingredients like watermelon juice, you're not only elevating the flavor but also adding a splash of color. If you're interested in the health benefits of watermelon, check out this detailed guide. Now, let’s dive into this delightful recipe!
Essential Ingredients for Watermelon Mochi
To create your delightful watermelon mochi, you’ll need a handful of essential ingredients that come together beautifully. Here’s what you’ll need:
- Glutinous rice flour (200g or 1 ½ cups): This is the cornerstone of mochi, giving it that luscious, chewy texture.
- Granulated sugar (65g or ⅓ cup): Sweetness is key! This adds the perfect balance to the refreshing watermelon.
- Cornstarch (40g or ⅓ cup): Used for dusting and thickening, it helps keep the mochi from sticking together.
- Watermelon juice (240ml or 1 cup): Freshly strained juice is a must for that authentic watermelon flavor.
- Vegetable oil (1 ½ tbsp): This helps achieve a smooth, pliable dough.
These simple ingredients pave the way for a mochi that’s not just tasty, but also fun to make!
Optional Add-ins for Extra Flavor
Want to elevate your watermelon mochi? Consider these optional add-ins for a unique twist:
- Coconut milk: Swap part of the watermelon juice with coconut milk for a tropical flair.
- Mint extract: A drop or two can freshen up the flavor, adding a delightful zing.
- Chopped fruit: Small bits of kiwi or strawberries can be folded into the mochi for added texture.
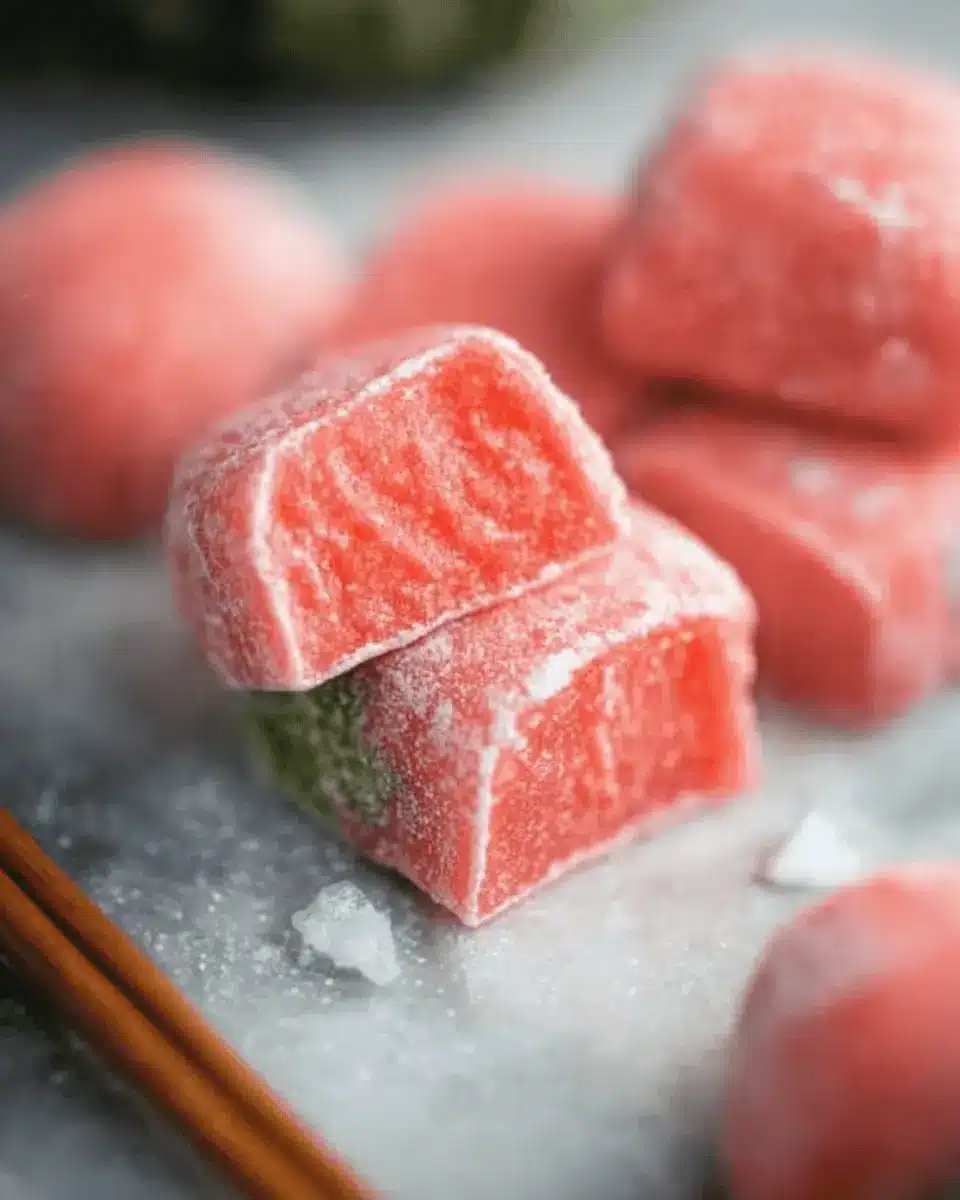
- Matcha powder: For an earthy contrast, sprinkle in some matcha to the mixture.
Feel free to experiment with these ideas and make your watermelon mochi truly your own!
Preparing Watermelon Mochi
Making your own watermelon mochi at home is not just fun but also incredibly rewarding! Follow these steps to create a delightful treat that’s soft, chewy, and bursting with fresh watermelon flavor.
Make the Fresh Watermelon Juice
To start, you'll need to create your watermelon juice. This is the magic ingredient that gives the mochi its vibrant color and taste. Simply take some fresh watermelon, chop it into chunks, and place it in a blender. Blend until smooth, then pass the mixture through a fine mesh sieve to remove any pulp. This will give you about 240ml of pure watermelon juice—sweet, refreshing, and perfect for your mochi.
Combine the Dry Ingredients
In a mixing bowl, grab your dry ingredients: glutinous rice flour, granulated sugar, and corn starch. These components work together to create that iconic chewy texture in the watermelon mochi. Whisk them together until they are well combined. The sugar not only adds sweetness but also helps the mochi rise as it cooks.
Mix and Whisk Until Smooth
Next, pour in your freshly made watermelon juice along with 1 ½ tablespoons of vegetable oil. Use a whisk to mix everything together until it becomes a smooth batter. It’s important to eliminate any lumps, as they could affect the final texture. You should end up with a lovely, bright pink mixture that smells delightful.
Cook the Mochi Mixture
Now comes the fun part! Use a deep frypan or saucepan and heat it over medium heat. Pour the mochi mixture into the pan. Stir continuously for about 5-8 minutes. You’ll notice the mixture thickening and changing to a dark pink, translucent color. Be attentive during this stage; the consistency should be very sticky and stretchy.
Set the Mochi in the Mold
Once the mixture is ready, remove it from the heat and prepare a square mold (about 12cm x 12cm). Lining it with parchment paper can make it easier to remove later on. Pour your warm mochi mixture into the mold and use a spatula to flatten it out evenly.
Slice and Dust the Mochi
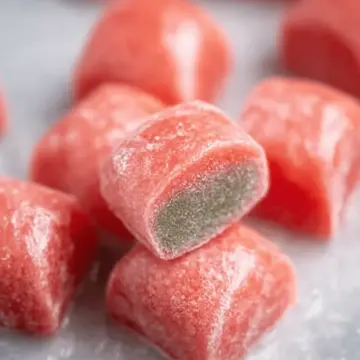
After letting your mochi cool in the fridge for 1-2 hours until it’s slightly firm, dust your work surface with cornstarch to prevent sticking. Carefully remove the mochi from the mold and place it on the dusted surface. Cut it into squares using an oiled knife to minimize sticking. Make sure to dust the pieces with additional cornstarch, so they don't stick together.
And voilà! You’re ready to enjoy your homemade watermelon mochi. It’s perfect as a light dessert or a refreshing snack on warm days. Share your creations with friends or keep them all to yourself—they're worth savoring! For more treats, check out some fantastic options on Serious Eats for ideas.
Variations on Watermelon Mochi
Strawberry Watermelon Mochi
If you're a fan of strawberries, this strawberry watermelon mochi is a delicious twist! Simply blend fresh strawberries with your watermelon juice for a fruity fusion that brings out the best of both flavors. The natural sweetness from strawberries complements the refreshing taste of watermelon, creating a vibrant treat. This variation is not just visually appealing but offers a unique flavor profile perfect for summer gatherings or a cozy night in.
Coconut Watermelon Mochi
For a tropical twist, try coconut watermelon mochi. Combine the watermelon juice with coconut milk to create a creamy texture and a rich, sweet flavor. You could even sprinkle some shredded coconut on top for extra texture and flavor! This variation evokes a breezy beach day, making every bite a mini vacation. Serve these delightful pieces of mochi at your next gathering, and watch them disappear!
For more ideas, explore the Mochi recipe guide.
Cooking Notes for Watermelon Mochi
Tips for Achieving the Right Texture
To ensure your watermelon mochi comes out perfectly soft and chewy, make sure to stir the mixture continuously while cooking. This helps in achieving that elusive stretchy texture. If it's too thick, you can add a splash more of watermelon juice. For easy handling, dust your surface with cornstarch—this will assist in cutting the mochi without sticking.
Common Mistakes to Avoid
A common pitfall is undercooking the mochi mixture; make sure it becomes a sticky, dark pink consistency. If possible, measure your ingredients accurately—too much flour can lead to a dry texture. Lastly, be patient during the cooling time; rushing this step can affect the mochi's final softness. For more tips on mochi-making, check out Serious Eats.
Serving Suggestions for Watermelon Mochi
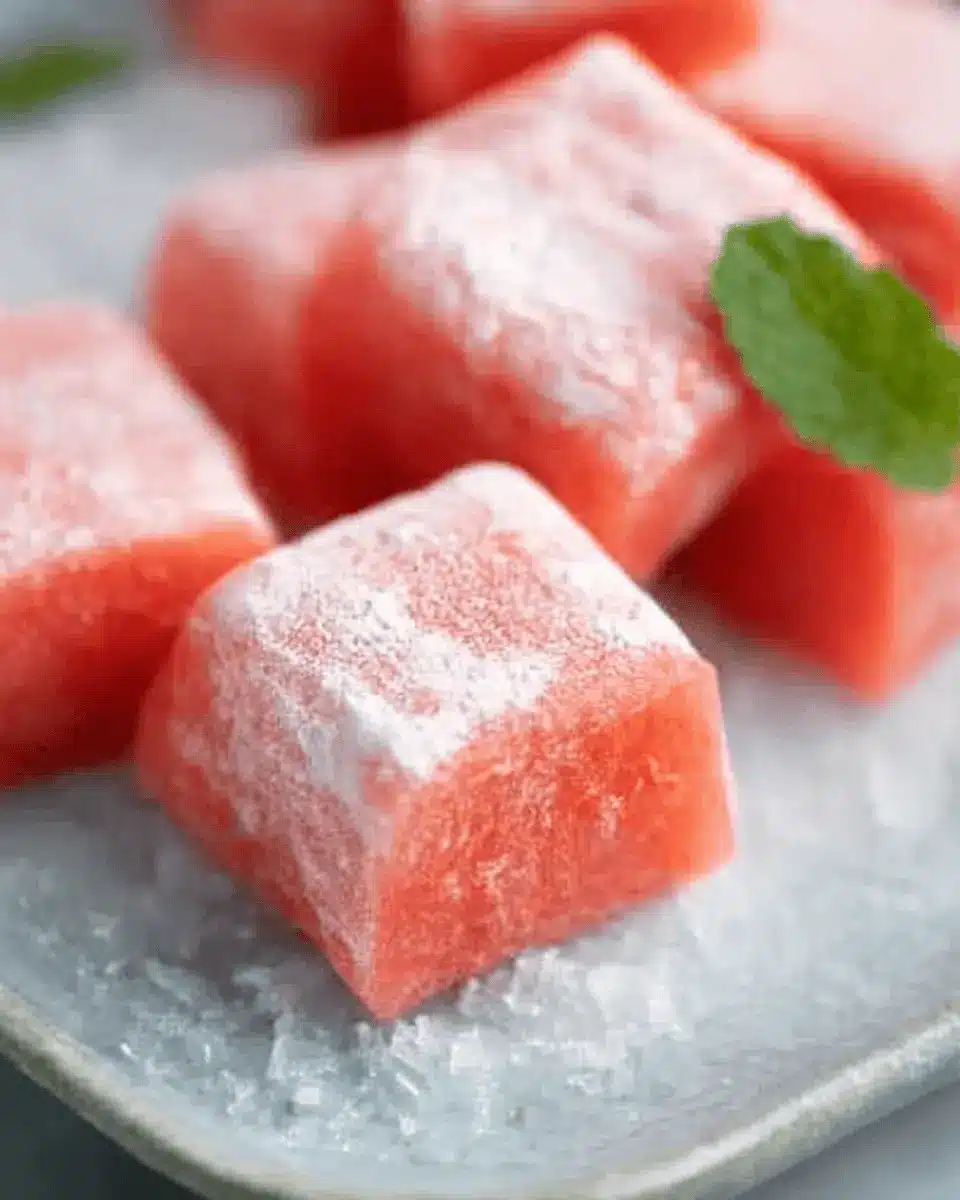
Pairing with Fresh Fruits
Enhance your watermelon mochi experience by serving it with a vibrant fruit platter! Fresh fruits like strawberries, kiwi, or pineapple make perfect companions, adding both color and texture. The tartness of each fruit cuts through the sweetness of the mochi, creating a delightful balance. You can even sprinkle some mint leaves for freshness, or make a simple fruit salad drizzled with a touch of lime juice for a refreshing side.
Perfect Occasions for Serving Watermelon Mochi
Watermelon mochi is ideal for various occasions. Whether hosting a summer picnic, celebrating a birthday, or enjoying a casual gathering with friends, these little treats will impress your guests. They’re also a fantastic way to cool down during warm weather! Try pairing them with iced herbal teas or fruity sodas for a delightful summer refreshment. For formal gatherings, consider serving them on a decorative platter to elevate your dessert table.
Time Breakdown for Watermelon Mochi
Preparation Time
This delightful watermelon mochi requires a quick prep time of just 5 minutes. Perfect for those with busy schedules who still want to enjoy something sweet and refreshing!
Cooking Time
The cooking process takes about 15 minutes. You'll be pleasantly surprised at how fast you can create this treat!
Total Time
All in all, you’re looking at a total time of just 20 minutes plus chilling time. After preparation and cooking, allow 1-2 hours for chilling to achieve that ideal chewiness!
Making watermelon mochi is not just fast; it’s also a fun and engaging culinary adventure! Ready to dive in? Check for more tips on how to make the perfect mochi over at thekitchn.com for some inspiration!
Nutritional Facts for Watermelon Mochi
Eating watermelon mochi is not just a delightful experience but also a nutritious choice! Here’s a quick breakdown of its nutritional benefits:
- Calories: Each piece contains approximately 70 calories, making it a light treat.
- Sugar Content: With about 10 grams of sugar per serving, the sweetness is naturally derived from watermelon juice.
- Gluten-Free Status: This mochi is made with glutinous rice flour, ensuring it's gluten-free and suitable for those with dietary restrictions.
For more detailed nutritional insights, check out resources like Healthline or NutritionData. Enjoy your delicious creation guilt-free!
FAQs about Watermelon Mochi
Can I use other fruits for mochi?
Absolutely! While this recipe features delightful watermelon, you can experiment with a variety of fruits. Try using mango, strawberries, or even matcha for a unique twist. Just ensure the fruit is juicy and fresh to achieve the best flavor and texture.
How do I store leftover mochi?
Leftover watermelon mochi can be stored in an airtight container in the fridge for up to three days. If you’re planning to keep it longer, consider freezing it. Just remember to dust the pieces generously with cornstarch before storing to prevent sticking.
What can I substitute for glutinous rice flour?
If you’re looking for alternatives to glutinous rice flour, consider using sweet rice flour, which is quite similar in texture. For a gluten-free option, you might also try using a blend of almond flour and tapioca starch, but keep in mind that the texture may vary.
Conclusion on Watermelon Mochi
Watermelon mochi is a delightful treat that expertly combines tropical flavors with the chewy texture that mochi lovers adore. Easy to make and refreshingly sweet, this dessert is perfect for summer gatherings or a quiet night in. Give it a try, and let your palate enjoy this unique indulgence!
Watermelon Mochi
Equipment
- blender
- Deep frypan or saucepan
- spatula
- 12cm x 12 cm square mold
Ingredients
- 200 g Glutinous rice flour
- 65 g Granulated sugar
- 40 g Corn starch
- 240 ml Watermelon juice, strained
- 1.5 tablespoon Vegetable oil
Instructions
- To make the watermelon juice, place watermelon flesh in a blender and blitz until smooth, then pass through a fine mesh sieve to remove any pulp.
- Combine the glutinous rice flour, sugar, and cornstarch in a bowl.
- Add the watermelon juice and oil, and whisk until smooth.
- Heat a deep frypan or saucepan over medium heat and add the mochi mixture.
- Heat, stirring consistently, for 5-8 minutes, or until the mochi mixture thickens and changes into a dark pink translucent color (the mixture should be very sticky).
- Remove from the heat.
- Prepare a 12cm x 12 cm square mold and line it with parchment paper; if you don’t have that size, any small rectangular container should work.
- Pour the warm mochi into the lined mold and press it down with the spatula to flatten it.
- Place the mochi in the fridge to cool for 1-2 hours, or until slightly firmed up.
- Dust your work surface with cornstarch.
- Remove the mochi from the mold and place it on the dusted surface.
- Dust the top of the mochi with more cornflour and cut it into 12 pieces of mochi with an oiled knife.
- Separate the pieces and dust all sides of the mochi with cornflour.
- Enjoy!
Leave a Reply